Hi Crafty friends,
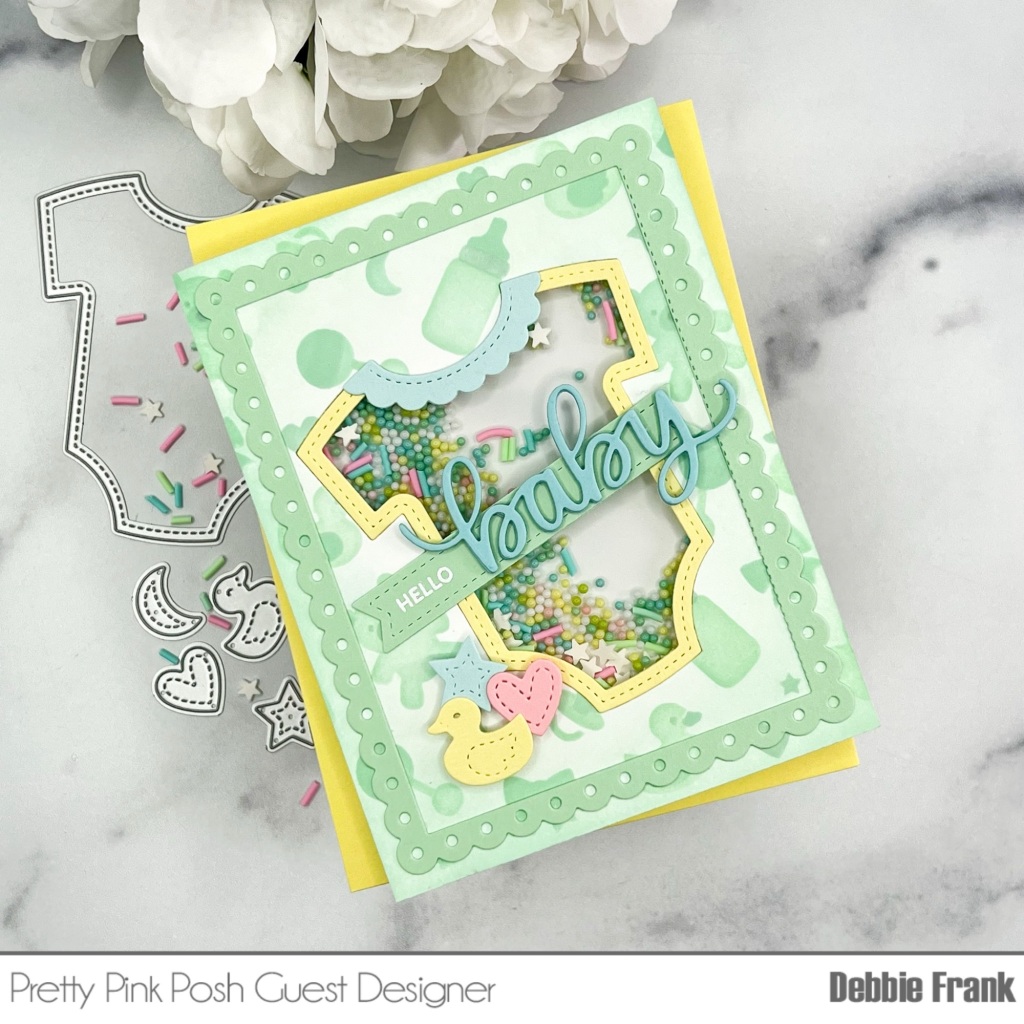
Back today with another adorable cards using the new Onesie Shaker Die from Pretty Pink Posh as a Guest Designer! Do I ever love saying that!😀 Make sure to go to my Instagram account, the is a IG hop. With a chance to win a prize!
So let’s just say I love the Onesie Die and the color combo from the new shaker beads!
1. Using the new Layered Baby Wreath on to a panel of Neenah Classic Crest Solar White #80. Placing the panel on the Waffle Flower grip mat, then centering up the wreath and sticking on the mate. You can also do a bigger panel and then cut down to size to make sure you have it centered. With a blending brush I added Lawn Fawn Freshly Mint ink onto all three of the layers. On the third I did add a little gray tho the rim of the bottles.
2. With the remaining ink on my brush, I went over the entire panel with a very light touch.
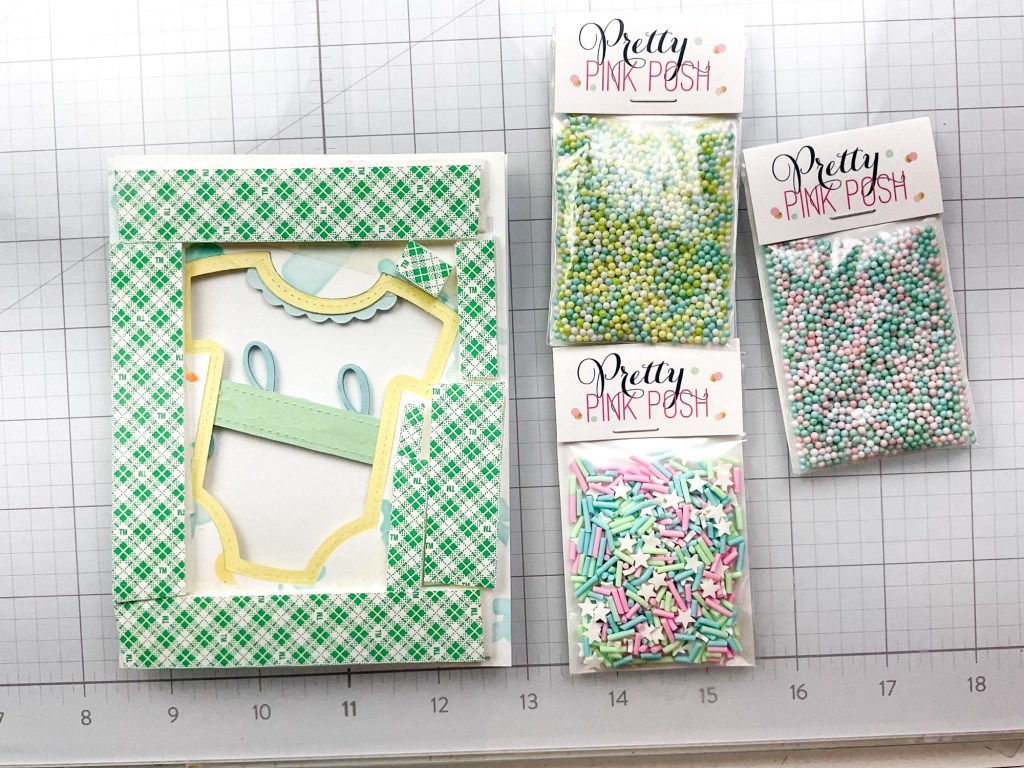
3. Die cut on the panel measuring 4.25 X 5.5 inches. Then in the center with a slight tilt I placed the Onesie Die on top, add a light adhesive tape to keep it from moving. Ran it through my Gemini Junior.
4. Cut out a piece of acetate to cover the whole back side of the Onesie. Laying down 1/4 inch Double side adhesive tape, I use Lawn Fawn on the backside around the Onesie cut out. Then remove backing of the tape and lay the acetate on top to have your window for the Shaker bits.
5. Die cut out some light yellow cardstock with the Onesie Die and with the cut out also. So this will be two passes through your die cutting machine. This will be your frame over the acetate on the front side.
6. Die cut out the duck, star, heart from card stock:
Papertrey Ink: Mint Julep
Spellbinders: Bee Wax (retired)
Concord & 9th: Pink Lemonade
MFT: SnoCone
7. With the new Sentiments: Occasions, I did a partial white heat embossing just the Hello on PTI- Mint Julep. Using the previously release label die to cut it out but keeping the Hello to the left and having it long enough to go completely over the Onesie window.
8. Then from the MFT- SnoCone cardstock I die cut out three time the previously release Baby die. Attach them with Bearly Arts Glue, stacking them up for dimension.
9. Die cut the Eyelet Rectangle from PTI-Mint Julep. Then from my stash I have a rectangle die that fits perfectly over the stitching to make this a frame. Adhere with Bearly Arts glue to the Baby Wreath panel.
10. Add doubled up Scotch foam tape to the back of the panel as close as possible to the Onesie cut out. Remove the backing to the adhesive and carefully add the Sweet Dream Beads and Sugar and Spice embellishments. I then place a smaller panel measuring 4 X 5.25 inches over it to hold the beads in place.
11. Flip back over to the front side and with liquid glue add the yellow frame and scalloped trim around the neck.
12. Place 3D small foam square to the back of the star, duck and heart. Adhere the Hello sentiment label over the window at a slight tilt, Baby on top. Then pull off the backing to the foam squares and add the star, duck and panel.
13. Attached to a standard A2 card base with liquid glue.
Thanks for stopping by,
Debbie


Leave a comment