Hi Crafty friends,
I just couldn’t wait any longer! I’m so thrilled to be a Guest Designer for Pretty Pink Posh this month! This release is the cutest! If you have any occasions happening this release is for you! Babies, wedding, graduation! I just need some babies to happen! I do have my granddaughter graduating from high school this year!
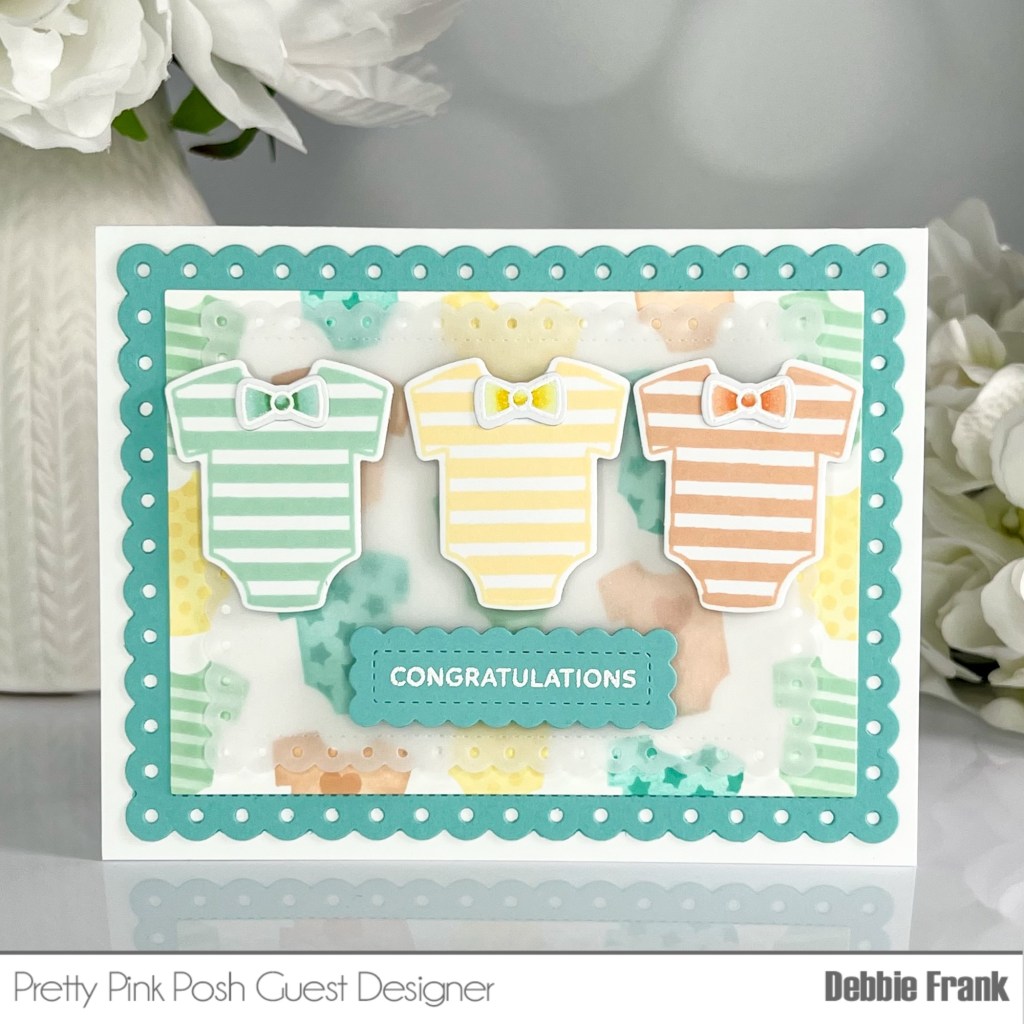
Today I am sharing the cutest little onesies from the Baby Basics Stamp set! When I stamped them out, which they are so easy to line up. I just thought they were the cutest!
1. So I started off stamping the Onesies from the Baby Basics Stamp set on to Neenah Classic Crest Solar White #80. Using Lawn Fawn inks:Butter, Apricot, and Minty Fresh. Did the outline first and came back with the stripes in the same colors. Die cut out with their coordinating Baby Basics Dies with my Gemini Junior.
2. Using the new Layered Onesie Stencil, and masking tape to do selective coloring. Place a panel of Neenah on to my Waffle Flower grip mat.
3. Laying down the B layer first to map out which colors where I wanted them. Then placed the A Layer on, Masking off the Polkadot Onesie with Butter, Heart Onesie with Apricot, Stars with Merman, and the stripes with the Minty Fresh inks. I used the same color for both layers just a heavier hand for the detail on B layer.
4. Die Cut out the Onesie panel measuring 4 5/8 X 3 3/8 inches to fit in the previously released Eyelet Rectangle Die.
5. Die cut out the largest Eyelet Rectangle Die from MFT- Summer Splash cardstock. Then with the second largest die cut it out with vellum.
6. Attach the stenciled panel to the the Eyelet frame with Bearly Arts glue.
7. With the Bow Tie from the stamp set I white heat embossed it three times on Neenah Classic Crest Solar White Cardstock.
COPIC colors:
Y13, 11,000
YR02,01, 00
G12, 00, 000
8. White heat embossed Congratulations from Sentiments: Occasions with the Sentiment Labels Dies cut it out, the scallop one.
9. Adhere the bow ties to the onesies with Bearly Arts glue. Add 3D Foam Squares to the back of the onesies and the sentiment label, giving a perfect place to add liquid glue on the back to attach to the velum. Attach to the center of the Layered Onesie Stencil panel. And the to a standard A2 card base measuring 4.25 X 5.5 inches.
Thanks for stopping by,
Debbie
All the products are listed are at no extra costs to you!


Leave a comment