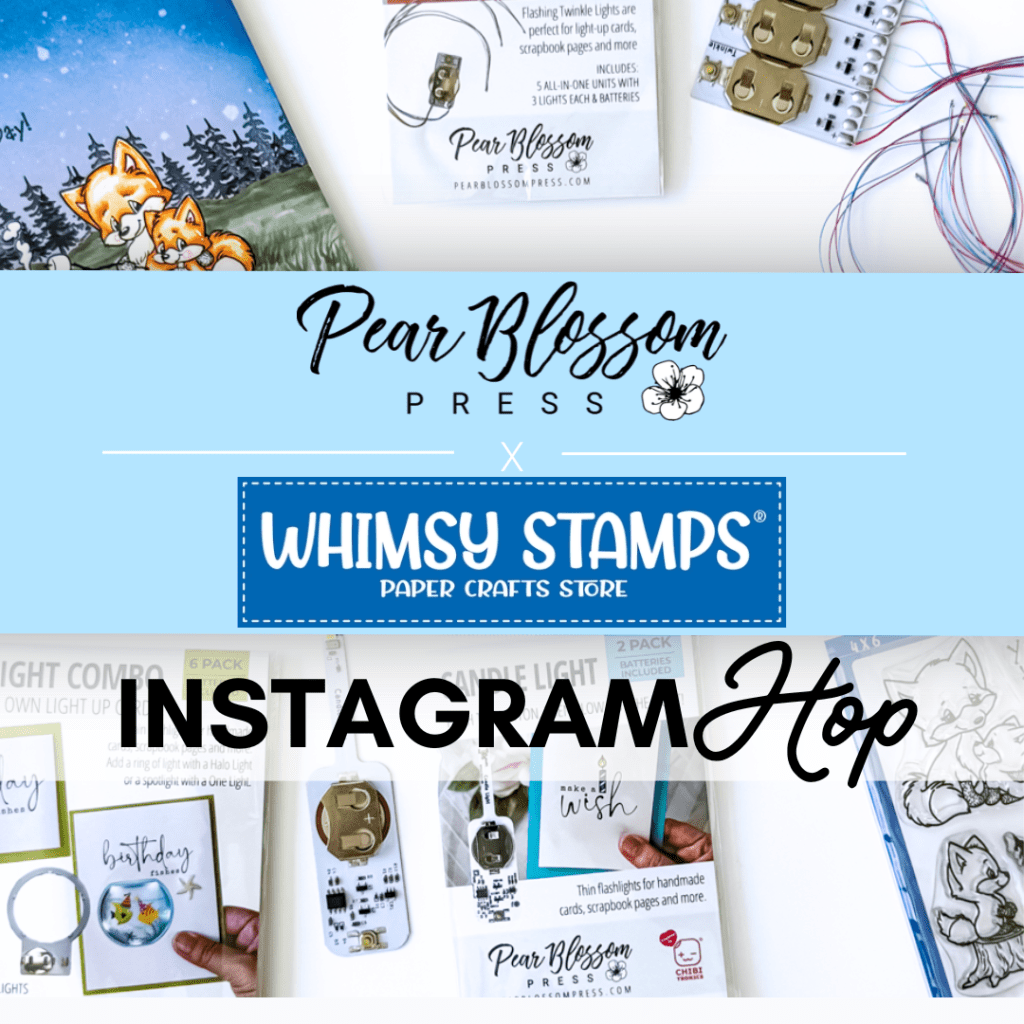
Hi friends, today there is a Whimsy and Pear Blossom Press Collaboration going on over on Instagram. So make sure to hop on over to my IG page to check it out. I even made a reel showing me making this card. Note to self: bring the camera in closer!!!
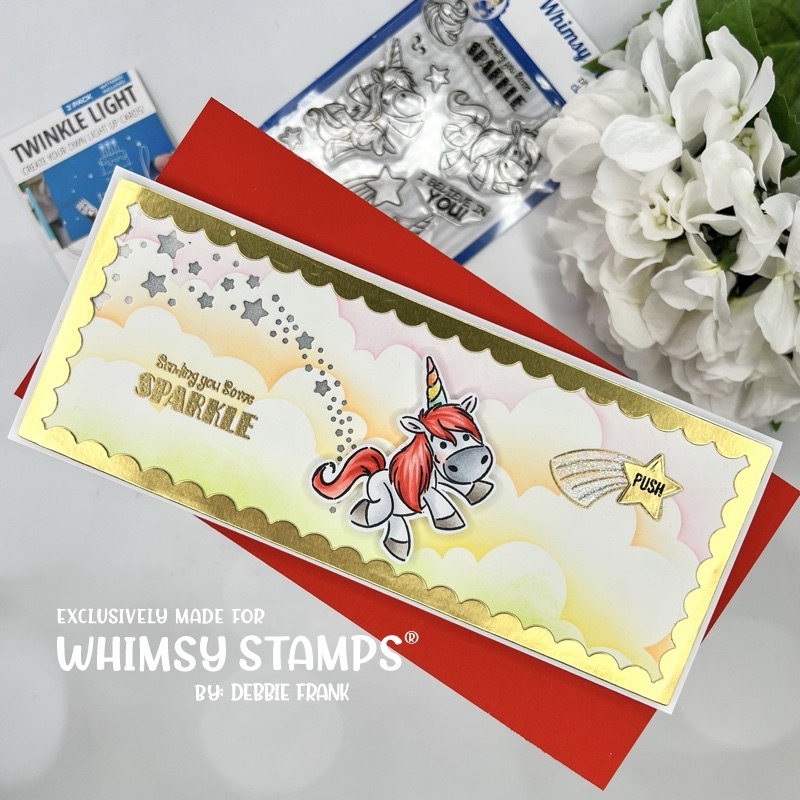
Started off with the background, stenciling on a slimline card base. Using SSS Bubblegum, Melon, Lemonade, and Celery Inks and the It’s Cloudy Stencil.
Then with the Stardust Swirl die on the panel ran it through my P6. I also ran it through with a black card stock in the back for an impression. Then ran the black through with the die. This is so you know where to place your PBP light and tape it down on the black card stock.
Next, I stamped and colored the unicorn from Unicorn Sparkle Stamp Set.
Copic Colors:
R24, R22, R20
C3, C1, C0
W4, W3, W1
G000, G00, G12
Y00, Y11, Y13
YR00, YR01, YR02
R000, R20
After the coloring was done I fussy cut her out. Popped her up with 3D foam squares.
Stamped and gold heat embossed the sentiment and the shooting star from the set directly on the panel. Trimmed the panel down to 3 1/4 X 8 1/2 inches.
Then with the Slimline Birthday Wishes Die, die cut out the large scallop frame fromgold card stock.
Added a silvery vellum to the back of the panel, add PBP thick foam strips around the wires and the button to turn the lights on. Attached the panel to the foam.
There is a star the perfect size of the shooting star in the Stardust Swirl die set. So I stamped and black heat embossed the PUSH. Then with the star die I cut it out. And with liquid glue I attached the star over the one on the panel. It’s not a great shooting star without some Star dust Stickles in there!
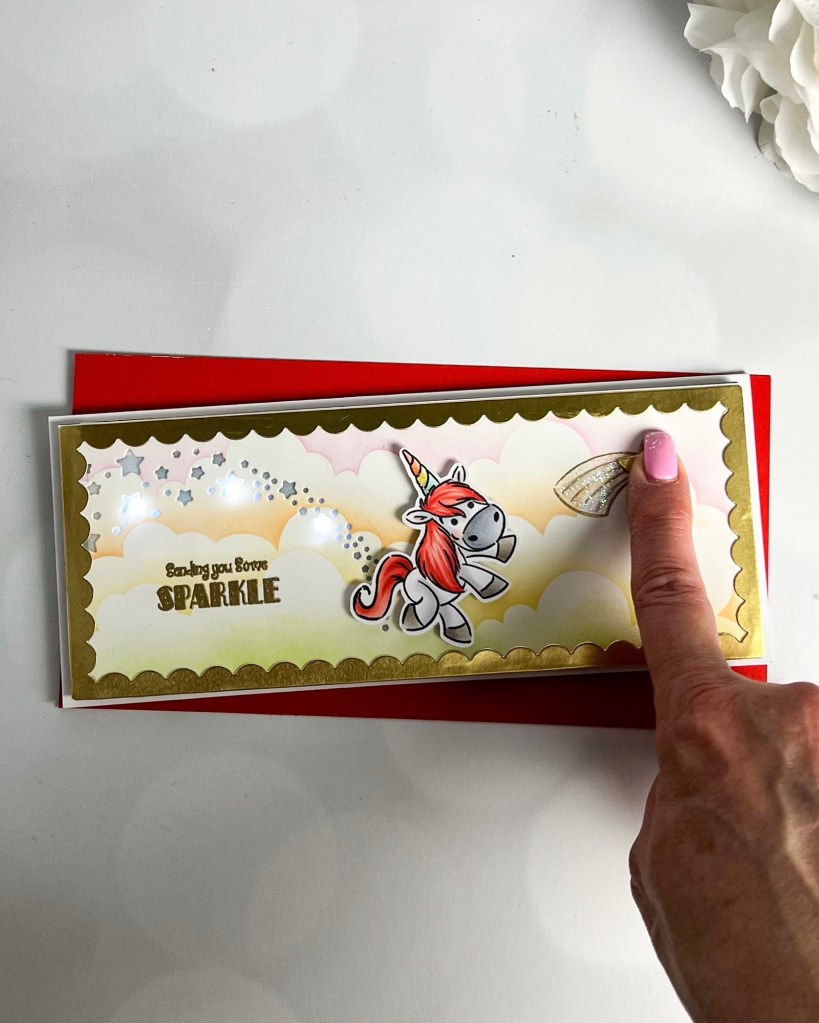
Adhered the panel to a slimline card base, then add some star dust stickles to the unicorn horn!
The affiliate links are attached without any extra charge to you. Please use Google Chrome to guarantee the links works, much appreciated!
Thanks for stopping by!


Leave a comment