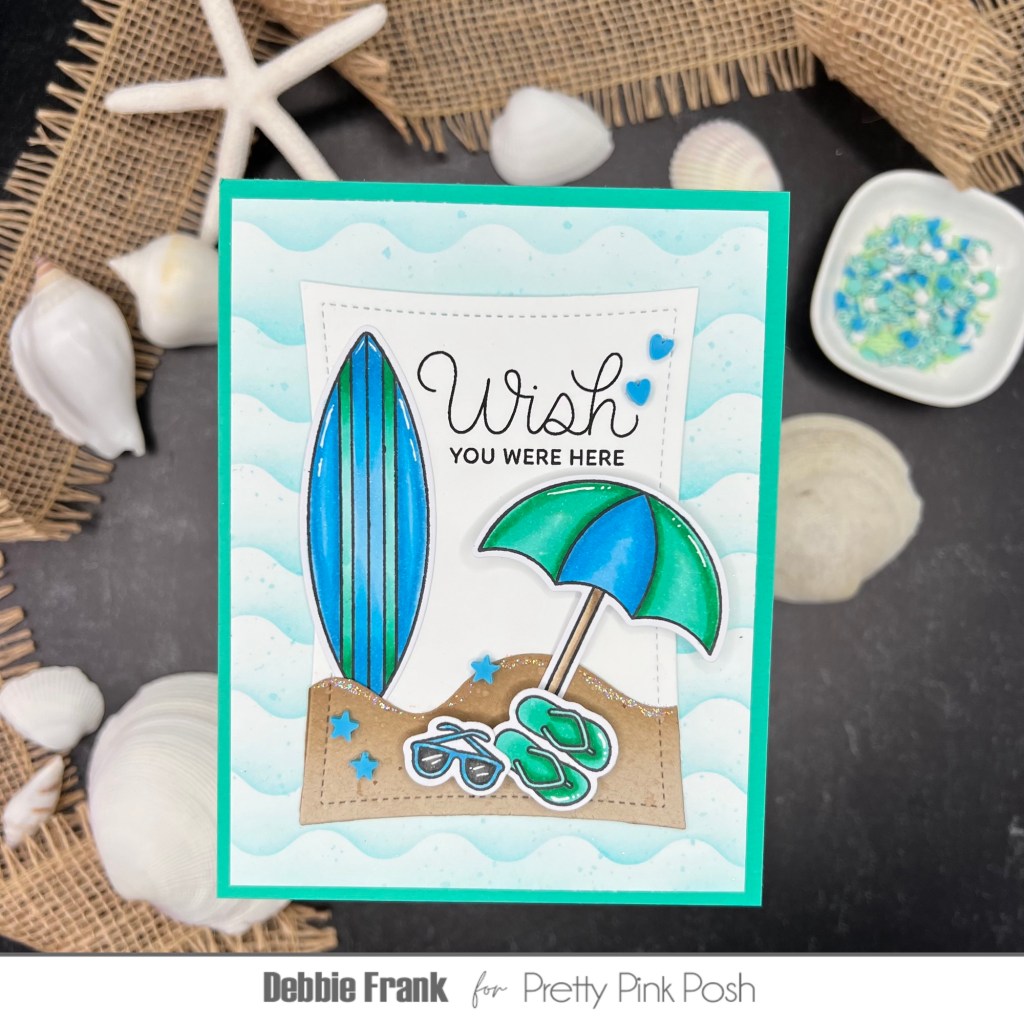
Hi Friends, the new Summer/Beachy Release over at Pretty Pink Posh with the Stitched Seashells, Beachy stencils, Sand castle Shakers is now available!! I had so much fun with all the summer themed products!
I started off stamping all the images from the new Beach Fun Clear Stamp set. Then Copic Colored them in, keeping it to greens and blues. I did all of the images purely because I didn’t know which direction I was going.
COPIC Coloring Guide:
BG32, BG34, G19
B12, B14, B04
T7, T5
After the coloring was done I die cut them out with the Coordinating Dies adding white highlights and foam squares to the back of the images.
For the background I used the new Wavy Edges Stencil. With a panel on the grip mat and the only stencil. Picking my wavy since there is only four sides to the stencil. I Ink blended on Simon Says Pawsitively Marine Ink. Moving the stencil up by 1/2 inch until the whole panel is covered. I trimmed the panel down to 4X5.25 inches. Matted it on to Gina K Emerald Coast Card Stock.
Next, with the new Shoreline Borders I die cut out with Desert Storm card stock. Ink blending on the top edge for some dimension.
Then I die cut out a smaller Wonky Stitched Rectangle Die from white card stock. Then I die cut out the Shoreline Border with the same Wonky Stitched Rectangle Die. So the Border can be adhered to the bottom of the Wonky Stitched Rectangle Die.
I now need to stamp out the sentiment from the Beach Fun Stamp set, placing the Wonky die cut in the Misti. The images about where I want them to get the best placement for the sentiment. Stamping it out with Versa Fine Onyx Black ink. Attach the Wonky die cut to the Wavy panel with liquid glue.
Before adding the images I added Stickles Star Dust to the Shoreline. Then attached the images in place.
Lastly, from the Beach Town Clay Mix I adhered the blue stars with liquid glue.
Affiliate links are attached with no extra costs to you.
Thanks for stopping by and stay crafty my friends.


Leave a comment