
Hi crafty friends! Today, I’m sharing a more elegant fall Fringe Pumpkin Die from the new release! I had this idea of doing a fun funky Fringe Pumpkin but I changed directions when I found this gingham pattern paper by Honey Bee Stamps-Autumn Afternoon in my stash.
With the gingham pattern paper in hand my color palette was made. Trimming the pattern paper to 5 X 5 inches and matting it with 5 1/8 X 5 1/8 inch coral card stock. Both panels were then attached to a 5 1/2 X 5 1/2 side fold card base.
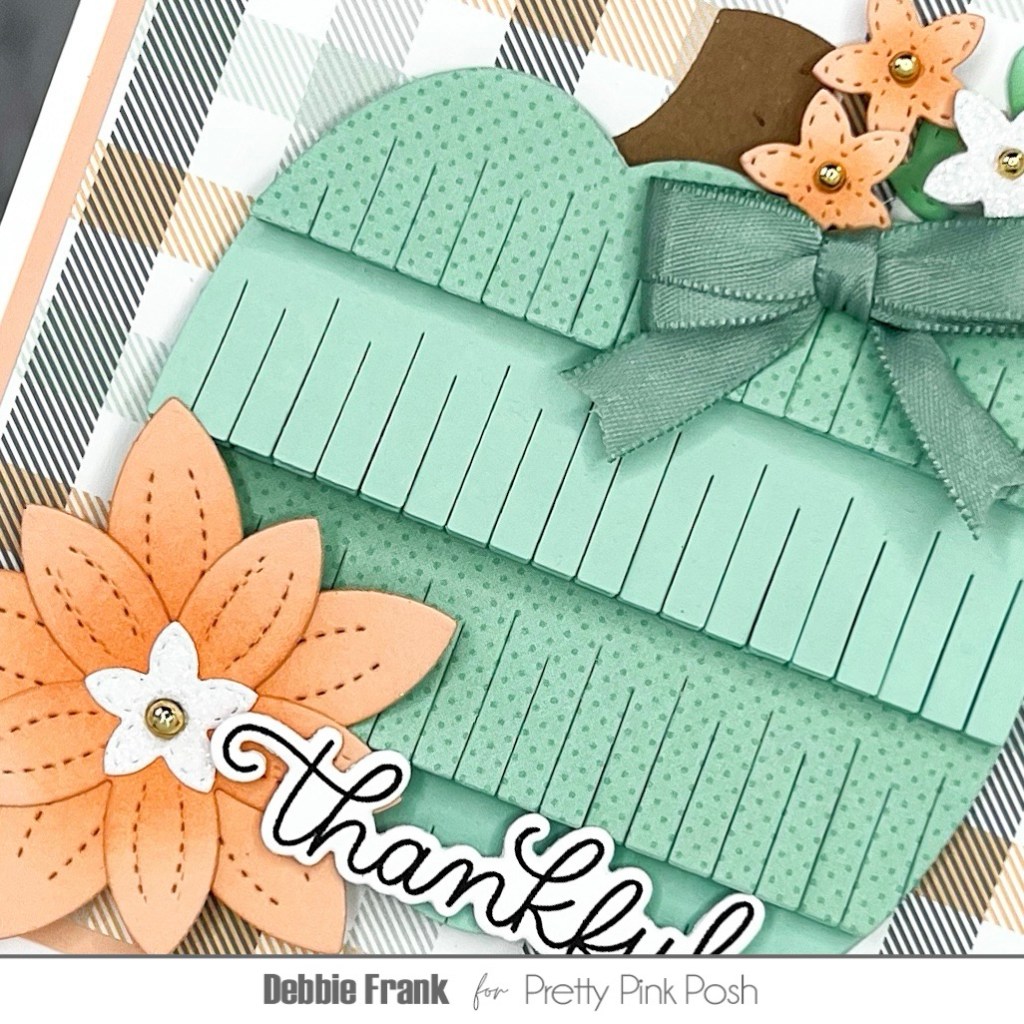
With the Fringe Pumpkin Dies, I die cut the four layers out three times from mint card stock. But with two of the top layers I did with a small Polka dot pattern paper from Doodlebug Designs 6×6 paper pack, Dot-Stripe rainbow petite prints that matched the mint card stock. Adhering all the layers together with liquid glue and attached to the center of the pattern panel.
Next, I used the Winter Foliage Dies die cut out the Flowers and Foliage in coral and mint card stock. I did do a little inking in the centers of the coral flowers to give some depth. Two small flowers were die cut out a Glitter card stock, always need glitter! For the larger flowers I add two layers of foam squares to bring it up to the level of the Fringe Pumpkin. Then adding a double satin bow to the top of the pumpkin.
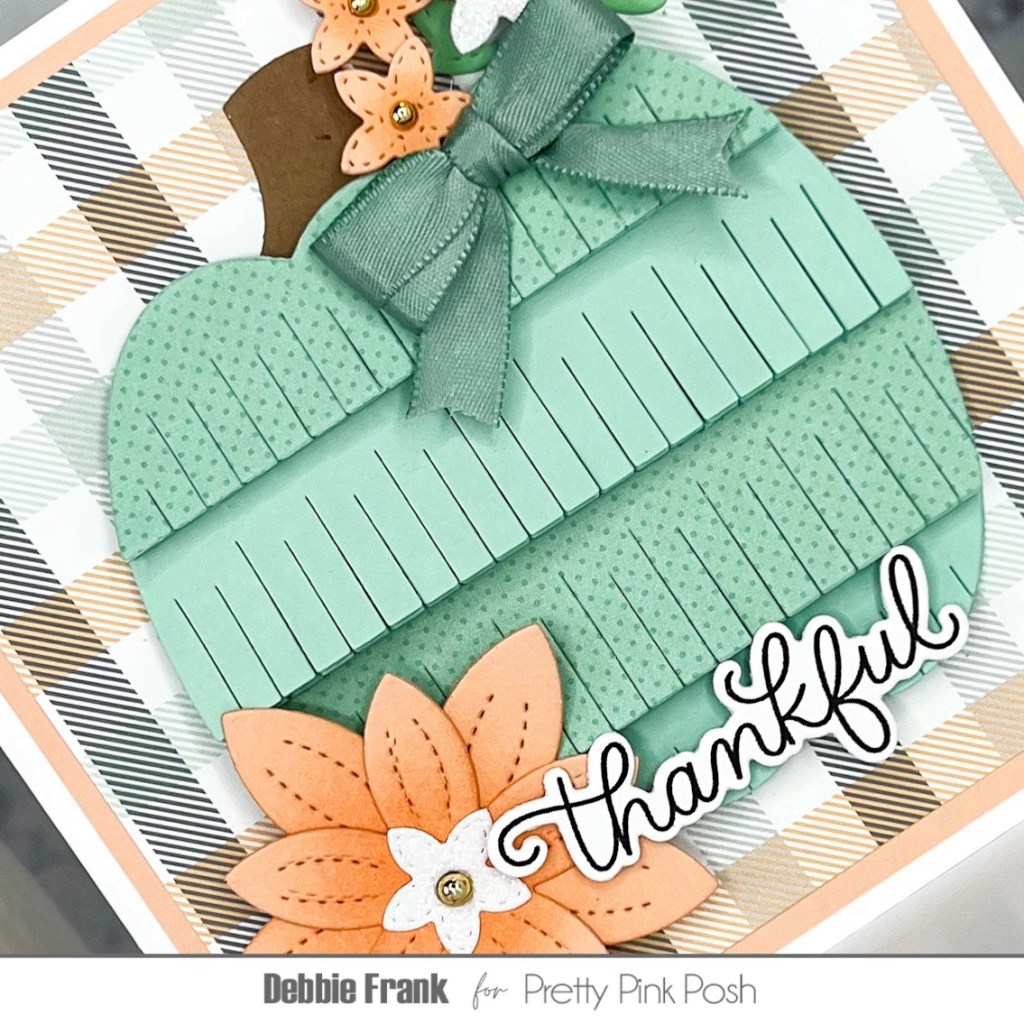
For the sentiment I stamped out the “Thankful” from Fall Harvest Stamp Set . Then with the Coordination dies cut it out and attached directly to the bottom of the Fringe Pumpkin.
Lastly, I added Metallic Gold Pearls to the centers of the flowers with liquid glue.
I hope you like this Fall Fringe Pumpkin!
Thanks for stopping by and stay crafty my friends!


Leave a comment