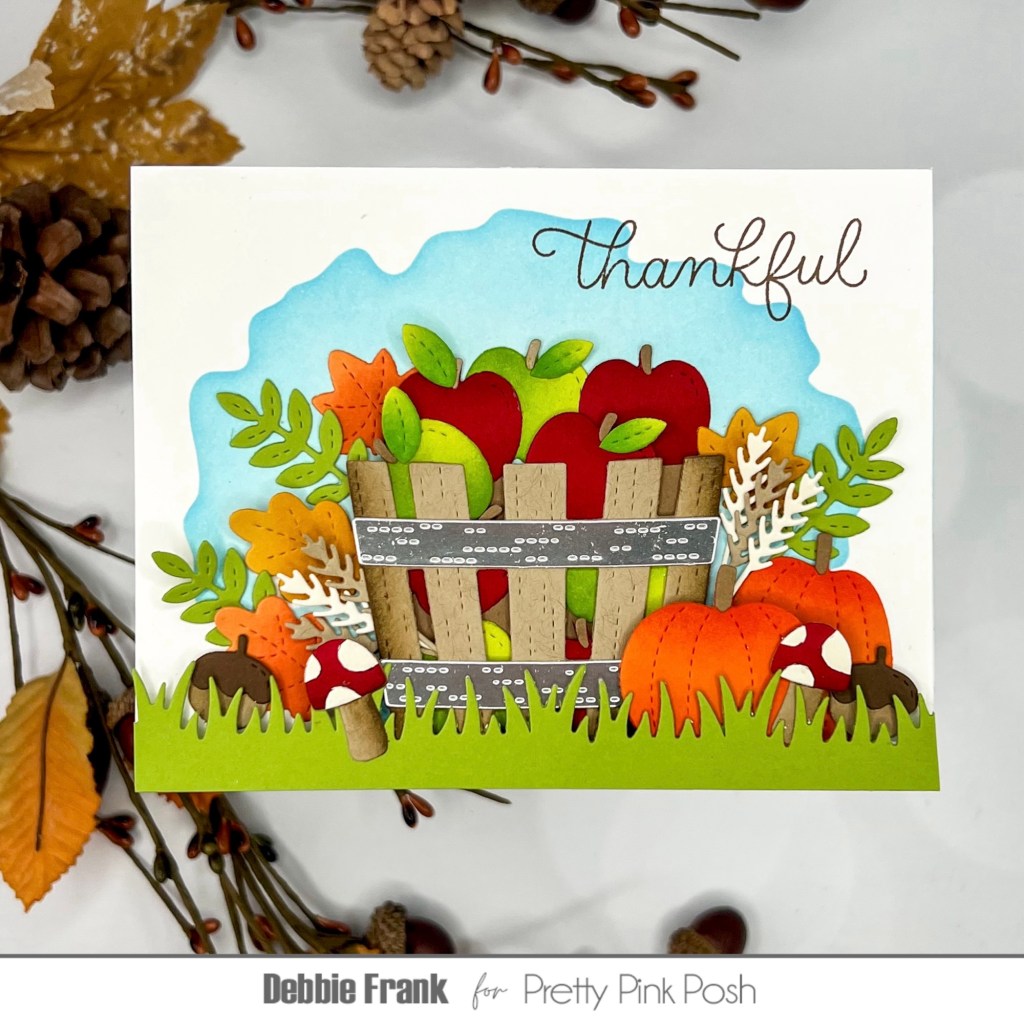
Hi friends, I decided to change things up and make a fall card. I have been making so many Halloween and Christmas cards that it’s kind of nice to make a fall one. This is the first time I’ve used the Fall Basket Die set and I don’t know why it took me so long to use it!
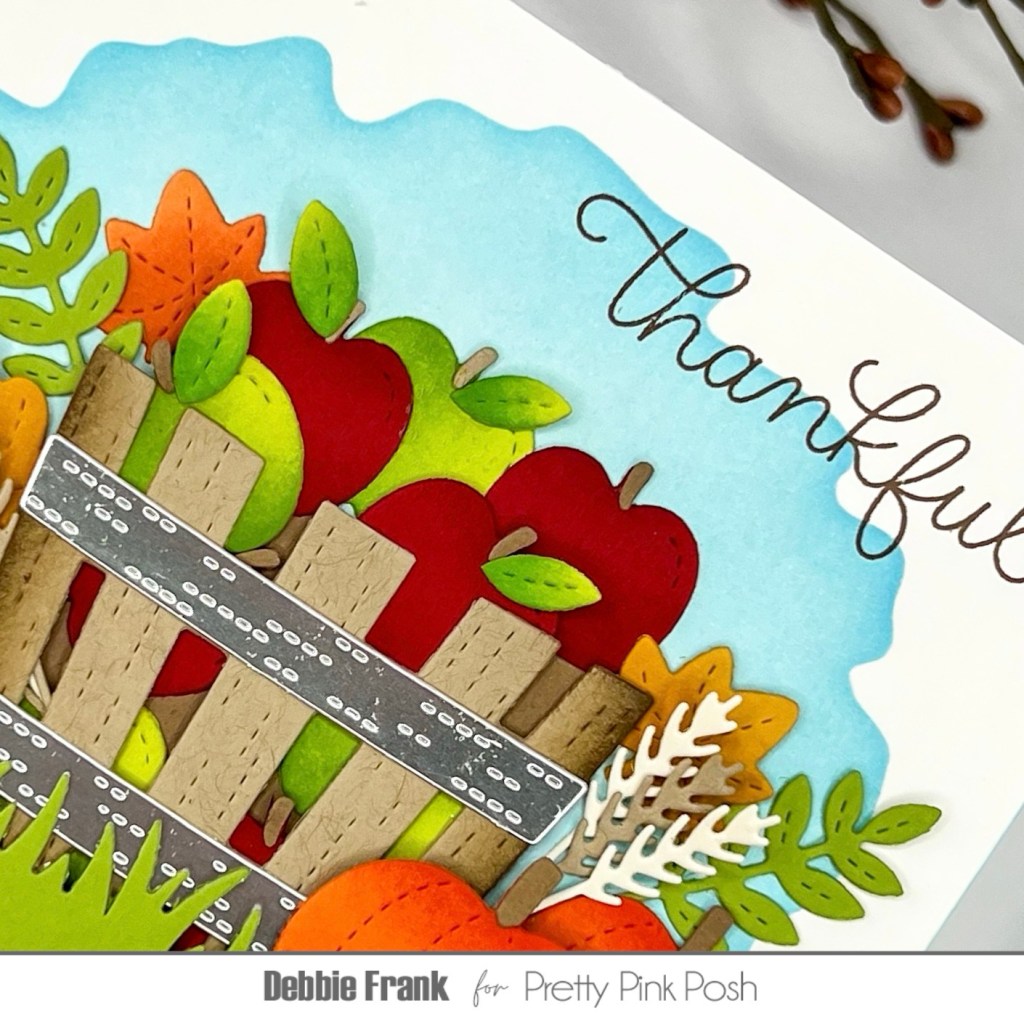
I started off die cutting a bunch of the elements from the set. Before I assembled each of them I did a little ink blending on the edges to give some depth. With the Mushrooms I die cut them twice from the red and alabaster card stocks. Trimming out the circles on the alabaster and attaching to the red one.
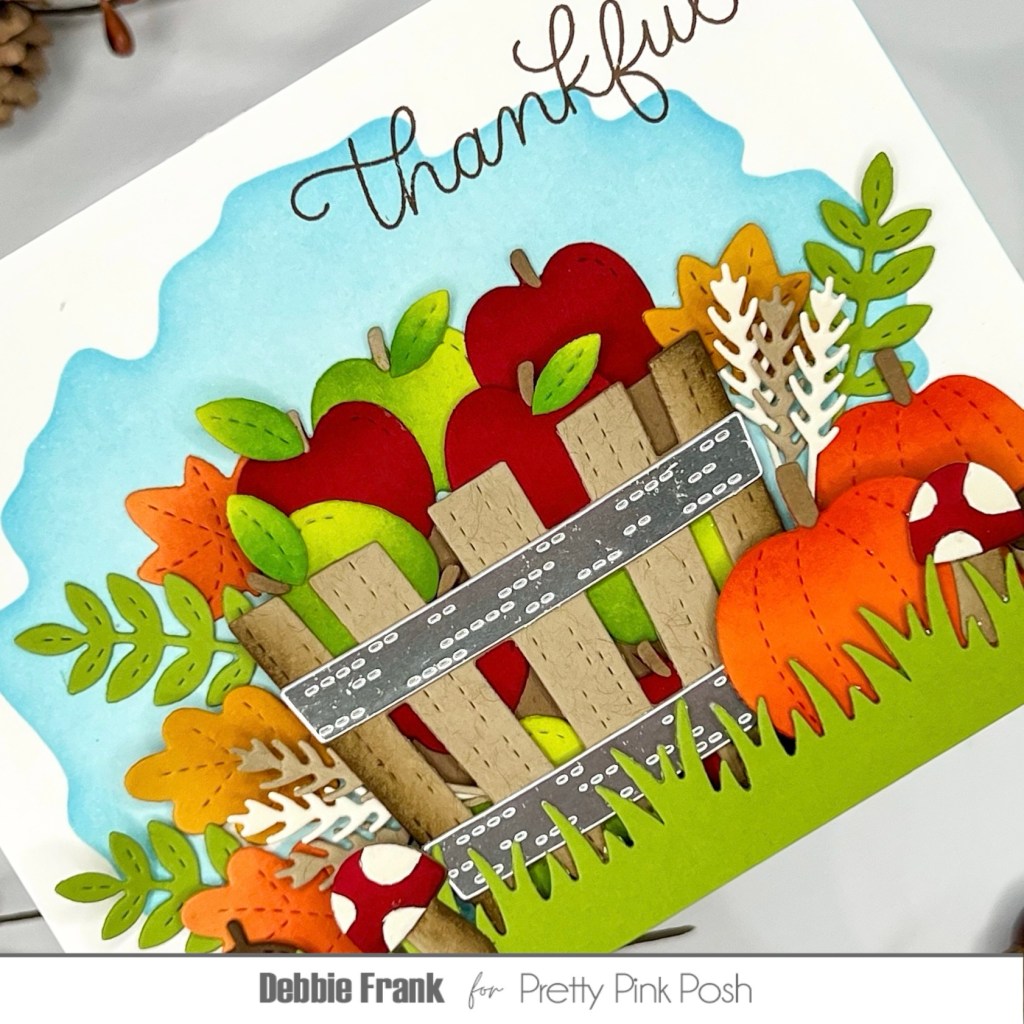
As I did the die cutting I arranged the elements on my desk. So I could see if I wanted more die cuts to fill out the scene. As I was getting close to what I wanted, I still needed a back ground panel. So with a standard A2 panel on my grip mat and the Watercolor Oval Stencil and ink blended on SSS Marine ink.
Next I slide the panel under the die cuts and added the Grassy Border die.
Full closure here, stamp out your sentiment first! I didn’t and just got very lucky! I used the Fall Harvest Stamp set and stamped the ‘Thankful” in a brown ink.
Then with the panel under the arrangement on my desk, I used Saran Wrap and pressed it on the die cuts. You keep part of the Saran Wrap on the desk and fold it back with the elements stuck to the Saran Wrap. Adding glue to the closest die cuts to the panel and laying it back down. Pressing it down until the glue attaches. Lift the wrap up and finish glueing the rest down.
On the grassy border, I added foam down on the panel along on the bottom edge, then I placed the grassy border down. This just helped keep it the die cuts flush.
I was really happy on how this turned out.
Affiliate links are attached with no extra cost to you.
Thanks for stopping by and have a crafty day!


Leave a comment