Hi friends, it’s release day of the Valentine’s Day/St. Patrick’s Day from Pretty Pink Posh Stamps! This release is packed with all kinds of goodies! I actually started off making the St. Patrick’s day themed products. I’m kinda shocked that I didn’t start off with the adorable Ladybug Shaker Dies!
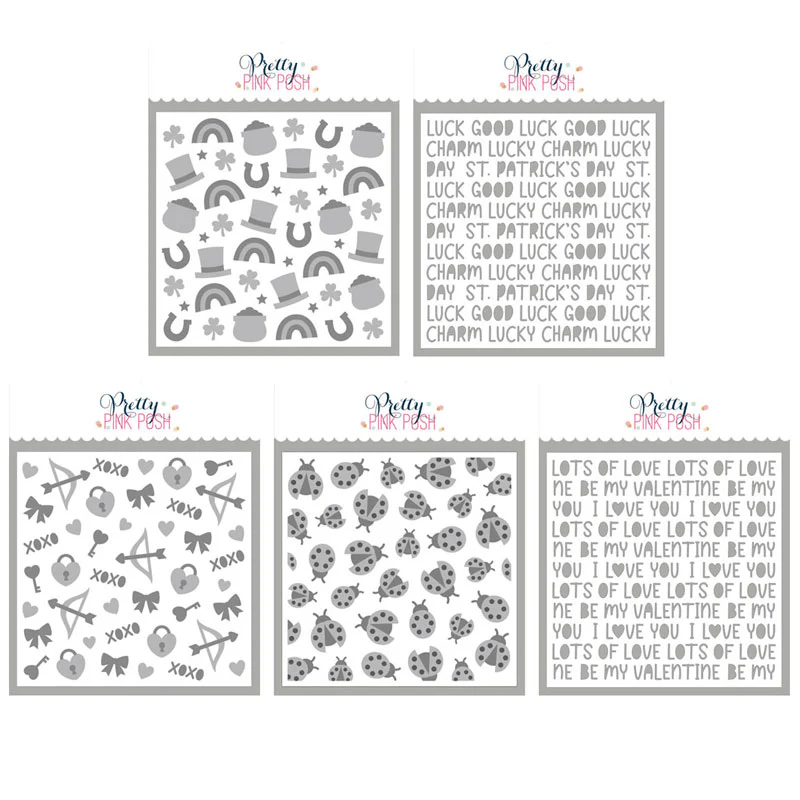
Stencil Bundle Price Click here!
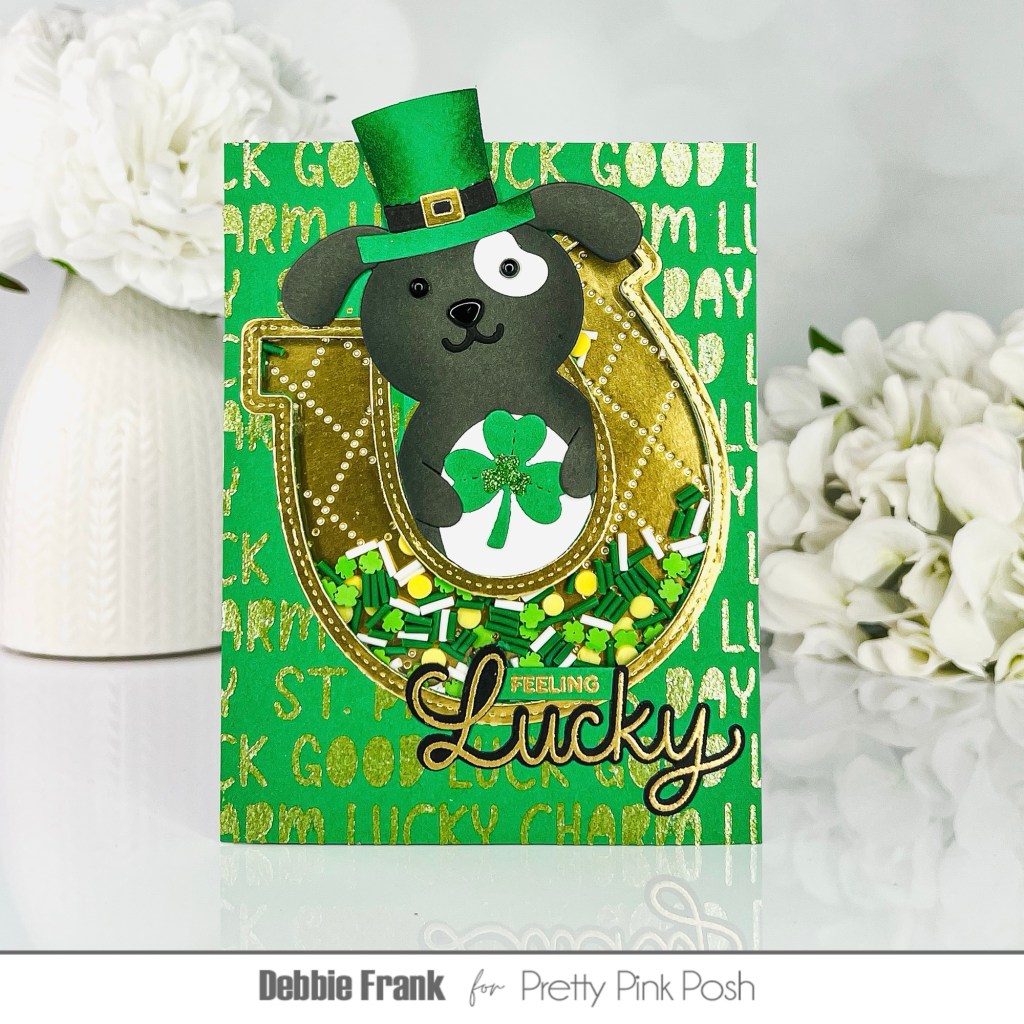
With the new Lucky Words Stencil, I brought out my gold paste. I started with a panel field green card stock measuring 4.25 X 5.50 inches vertical. with the panel on the group mat, I laid the stencil over the top and applied the gold paste. Set it to the side to dry.
Next, with a previously released Dog Holder, I die-cut him out of a dark, gray, and white card stock. Then with the Lucky Holder additions, I die-cut out the top hat and the clover to put into the hand of the Lucky dog.
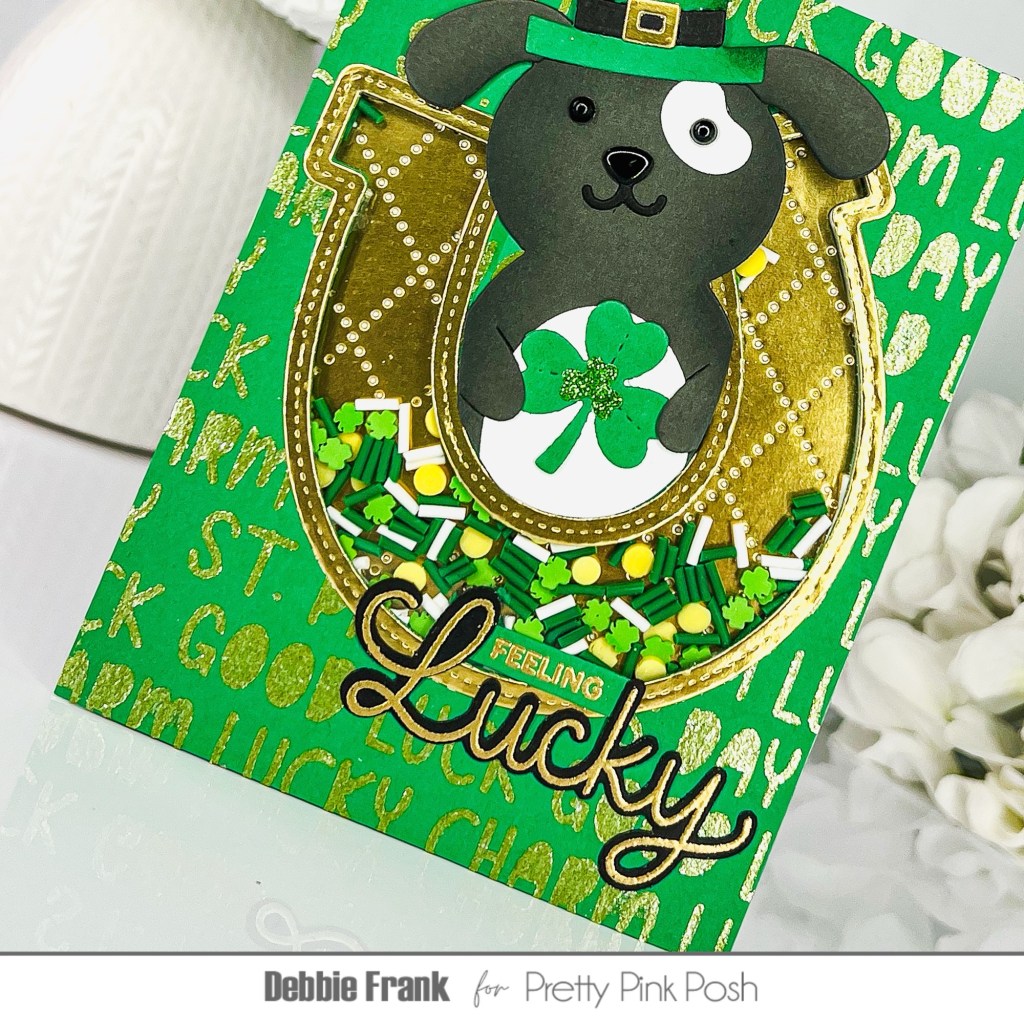
The panel is now dry, so with the Horseshoe Die placed in the center with a tilt I ran it through my die-cutting machine. With a gold card stock and ran it through with the Horseshoe as well to make the frame. Then with the center die-cut piece, I ran it through with the Argyle Pierced plate to give it some texture.
Product list with Affiliate links:
Horseshoe Shaker Die (PPP) (SSS)
Lucky Words Stencil (PPP) (SSS)
Lucky to Know You Stamp (PPP) (SSS)
Lucky to Know You Dies (PPP) (SSS)
Lucky to know You Bundle (SSS)
Lucky Clay Mix (PPP) (SSS)
Decorative Shamrock Die (PPP) (SSS)
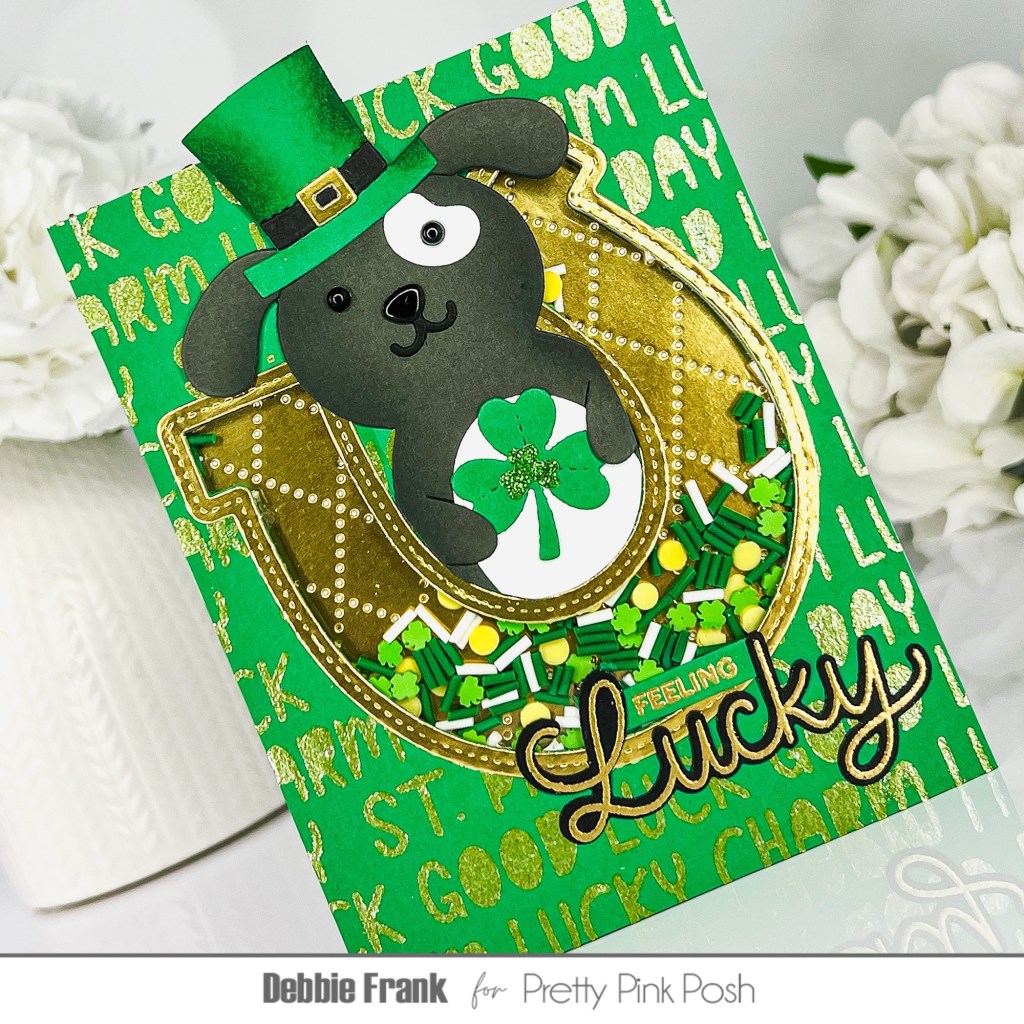
Before I start to build up the shaker portion of the card with the acetate window. I first set the panel over the card base and in laid the gold textured piece with liquid glue on the back. Now I can start to add the acetate to the back of the panel over the opening with double sided tape. Adding the double thick foam tape around the window to make the well for the Lucky Mix.
As far as cutting off the Dog Holder, I placed the Horseshoe over him but making sure not to cut off his ears. So I only ran the plate partially through.
I stamped and gold heat embossed the “Feeling Lucky” sentiment from the first Lucky to know You stamp. Then I die-cut it out with the Coordinating Dies. For the “Feeling” I used the Sentiment Strips Die, the very thin strips.
The final touches were to add Glossy accents to the nose and I die-cut out a green glitter clover using the Decorative Shamrock Die to add to the center of the one in his paws.
Compensated affiliate links used when available. If you place an order after clicking on one of my links, I will receive a small commission at no cost to you. Make sure to accept cookies. Thank you for your support!
Thanks for stopping by!


Leave a comment