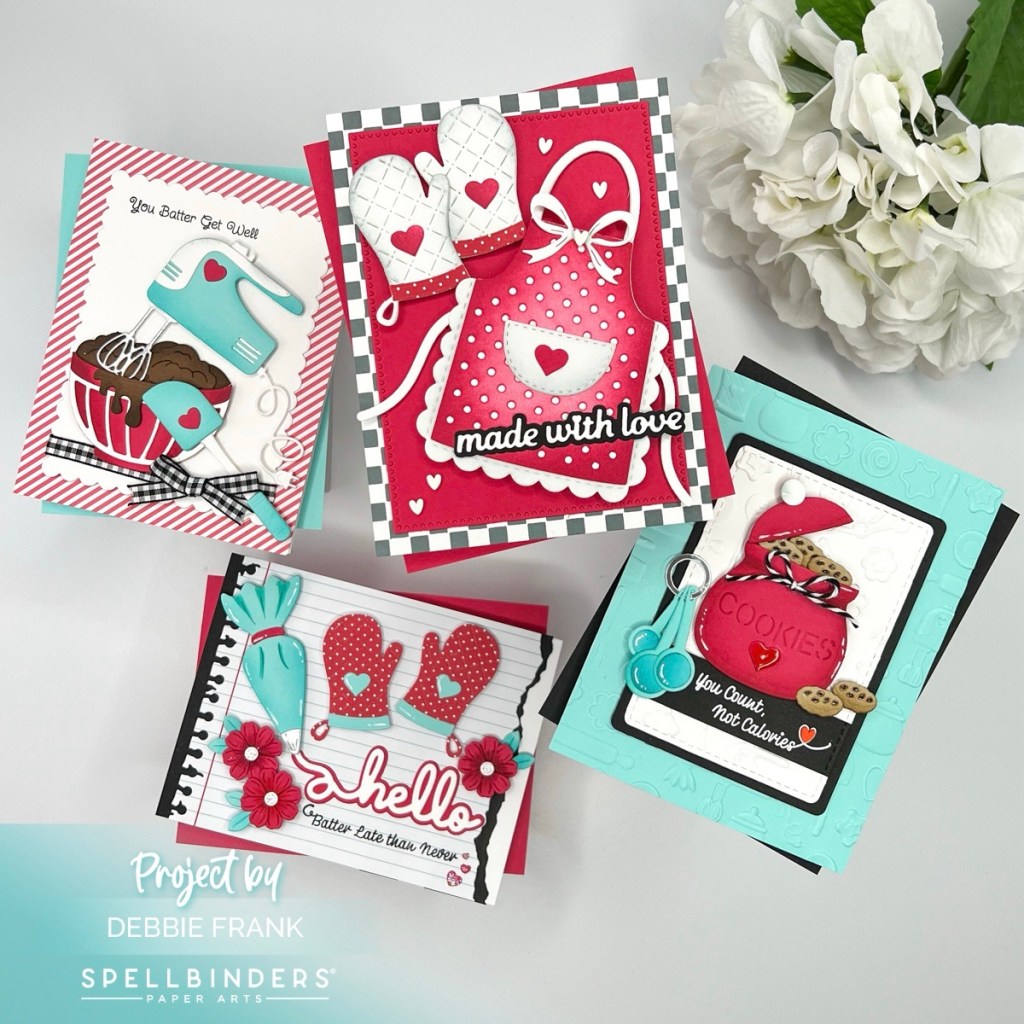
Hi crafty friends, today I’m sharing the super sweet Make it & Bake It collection by Tina Smith over at Spellbinders.
I have to admit that I was not feeling it at first, don’t get me wrong. It’s adorable and I was at first very excited when I first saw it but the mojo wasn’t there. Until, I thought it would be fun to do a 1950’s kitchen theme with the colors.

#1 Card-Made with Love!
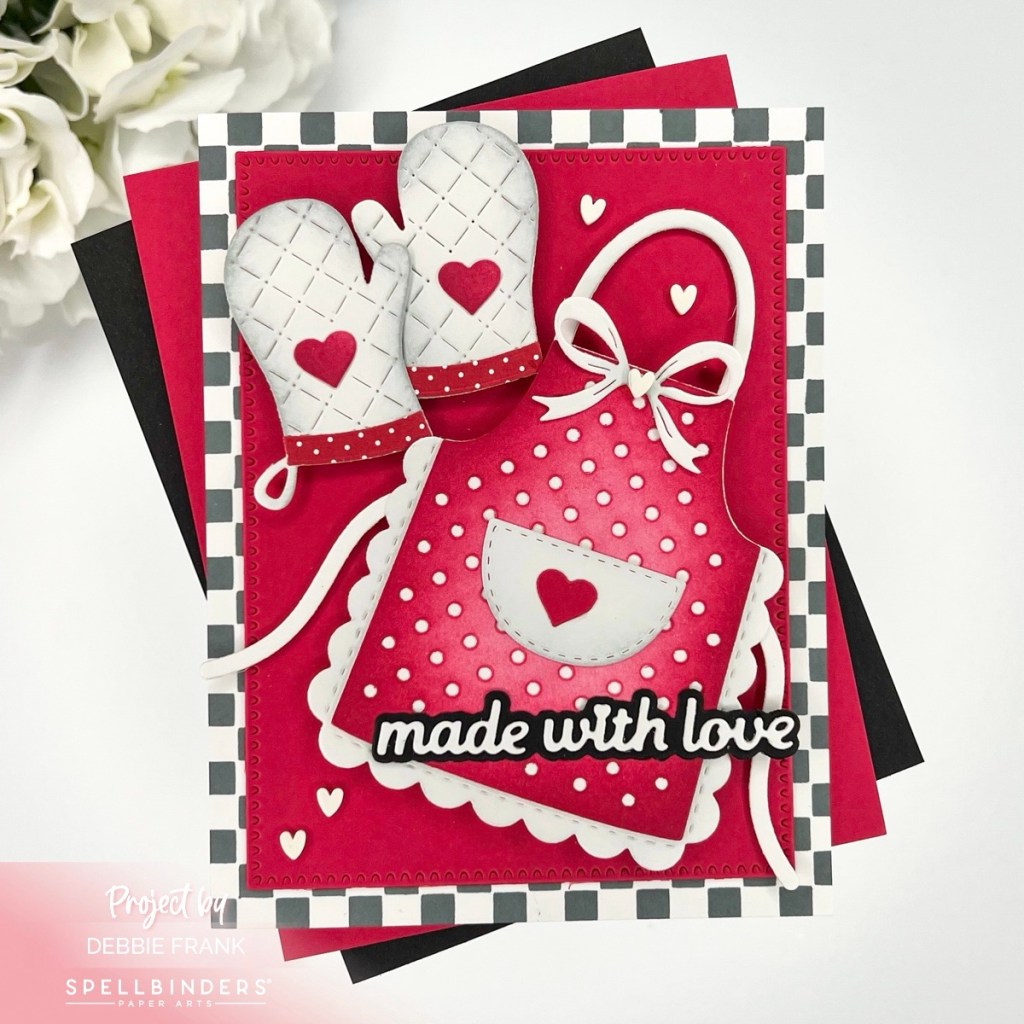
To start off with the Made with Love Dies, I die-cut out the apron and mitts. Ink blending the apron in a red with the outer being darker and some light grey ink on the white to give some depth.
For the red panel I die cut out Lawn Fawn Raspberry card stock with Perfect Touch Rectangle Dies.
Product links to Simon Says
I then realized I needed a black and white checker for the floors back in the 1950’s. With the new Mini Checkers Stencil from Pretty Pink Posh and a standard A2 panel on a grip mat, I ink blended on with a dark gray ink.
Adhered it all together on a side fold card base, then the final touch was adding white clay hearts.
#2 Card – Magic Mixers
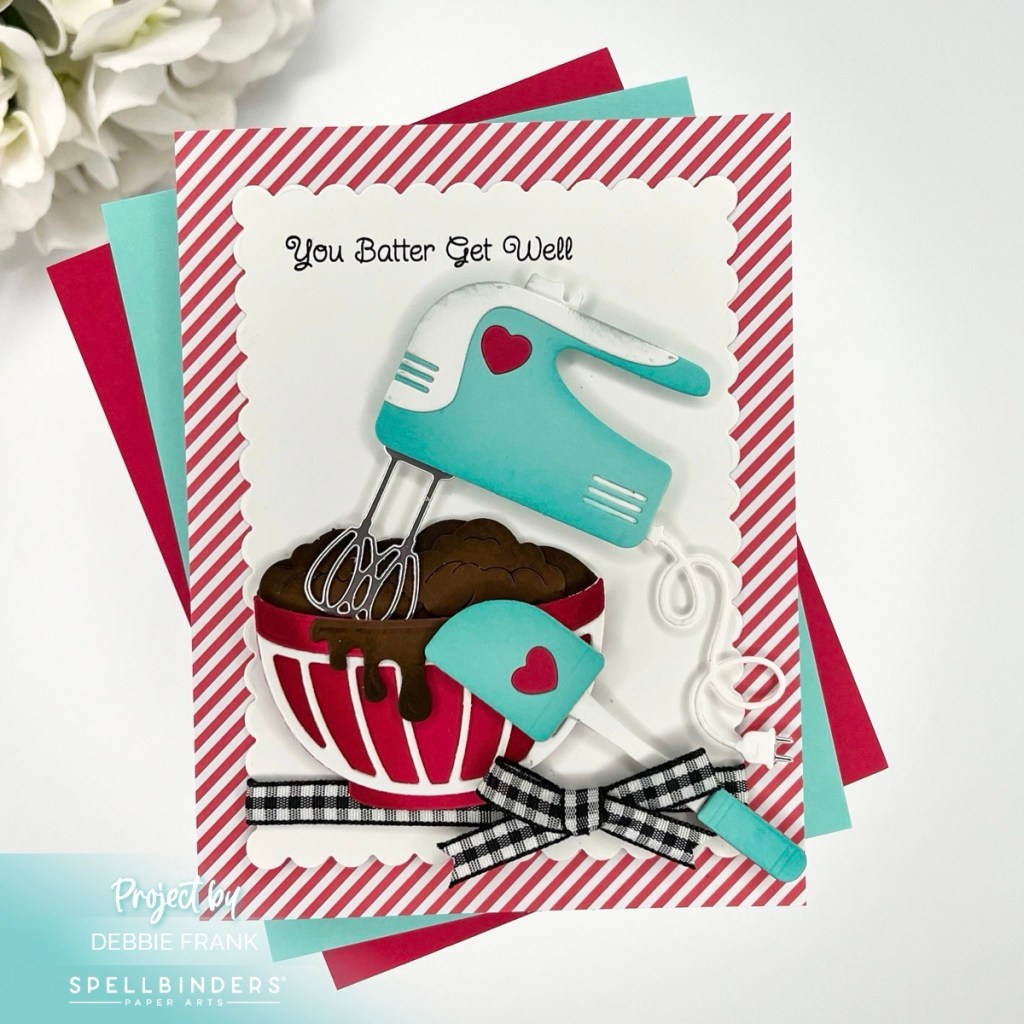
With this one I decided to bring in the teal, only because I googled 1950’s kitchens and saw the cabinets were in teal.
I die-cut out the mixer and bowls from the Magic Mixers, then for the spatula is used the Fluff, Frost & Roll set.
For the background panel I found the red and white striped pattern paper in my stash, probably Mft paper. Then with the Heartfelt Thanks & Scallops Die set (on sale right now) I die cut out a white panel.
Before I adhered the popped up mixer and bowl, I stamped out the “You Batter Get Well” using the Sugared Expressions Stamp set. Also I wrapped around the Black & White Gingham ribbon around the white panel and tied off a bow.
Now, I can attach the die-cuts with foam on the back.
#3 Card-Measure Mates

With my third card I started off with the Confection Companions Embossing folder and standard A2 Teal panel and ran it through the Platinum 6 die-cutting machine.
Also with the Bow & Bell Scallop Frame dies, I used the smaller stitched die and cut out a whit panel. Then I ran it through with the Confection Companions Embossing folder as well. There is one size up die that I die-cut out the black to mat.
Next, I die-cut out the cookie jar, teaspoons and cookies from the Measure Mates Dies, adding ink on the edge for dimension and foam square on the back.
I still need the sentiment, so I stamped and white heat embossed the “You Count, Not Calories” on a black card stock. Then with a trimmer cut it to 3/4 X 2 3/4 inches to fit on the white panel.
Popped it on the panel and added a black and white twine bow on the cookie jar. Then added a red heart on it and the final step was adding glossy accents to the heart and dots on the chocolate chips.
#4 Card- Fluff, Frost & Roll
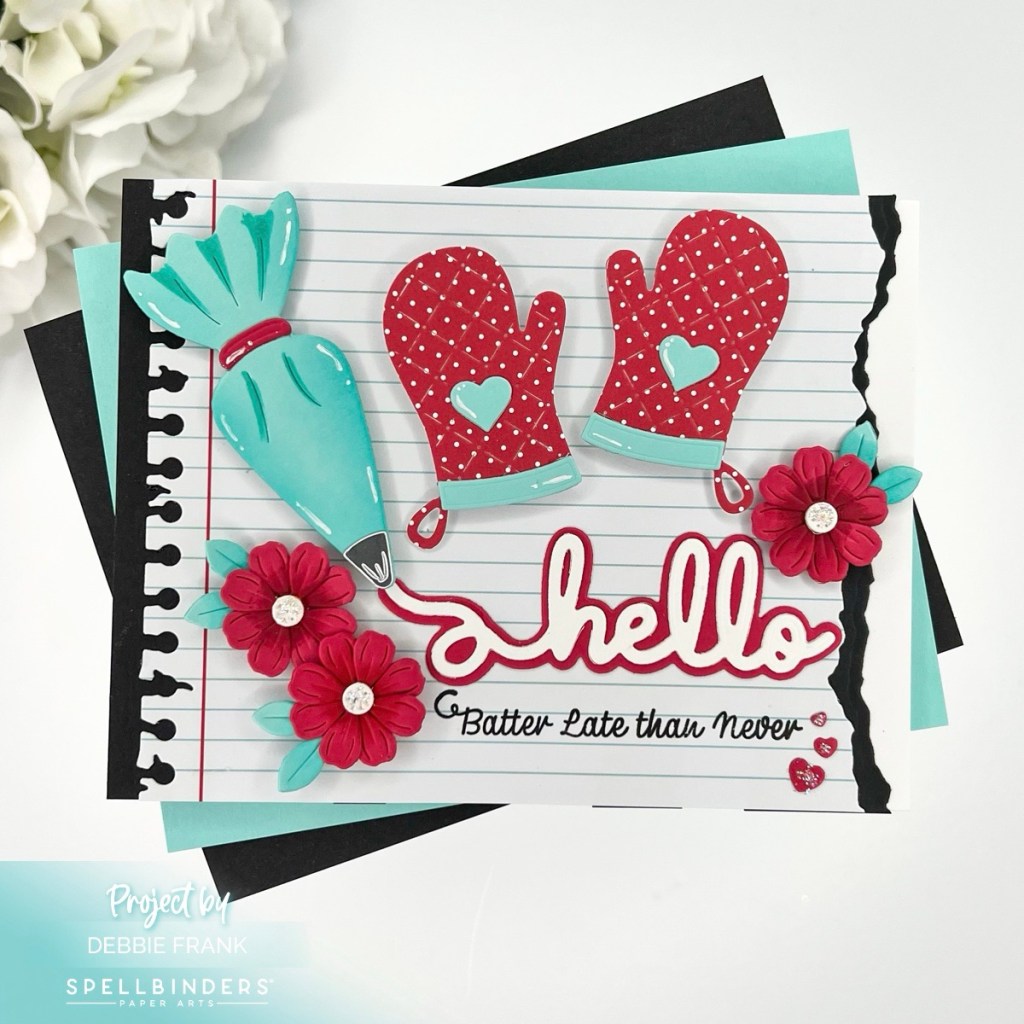
I wasn’t planning on making four cards, but this one just kind of happened. I think it turned out really cute, I decided with the Pastry Piping bag to make a recipe card.😂
I die-cut out the flowers, piping bag, Hello and shadow from the Fluff, Frost & Roll Die Set.
Next, with MFT-Notebook Paper I die-cut it out using the Torn Paper Edges Die. Then I laid out my design and stamped out the “Batter Late than Never” from the Sugar Expressions stamp set.
But it was still missing something, so I my desk was some polka dot mittens that weren’t used on an earlier card from the Made with Love set. So I popped them on and it was perfect! There was also the small hearts in the spatula that was also not used to I added them on by the sentiment.
The final step was adding some Star Dust Stickles to the center of the flowers and hearts. I added some white highlights with a white gel pen as well.
Compensated affiliate links used when available. If you place an order after clicking on one of my links, I will receive a small commission at no cost to you. Make sure to accept cookies. Thank you for your support!
I hope you like them as much as I do!!
Thanks for stopping by and have a crafty day!


Leave a comment