
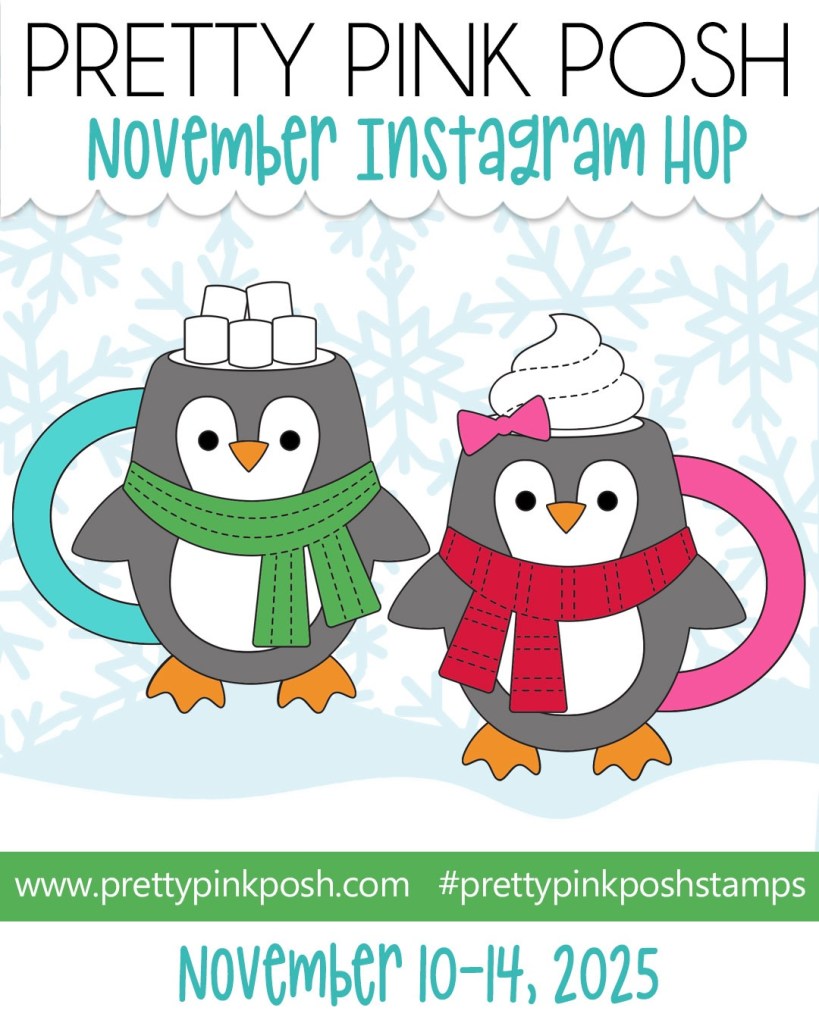
Hi Crafty Friends, today is Day 3 of the IG Hop from Pretty Pink Posh Stamps! So make sure to hop on over to Instagram for a chance to win $30 for each day! You can start off at Pretty Pink Posh IG Account if you have missed any of the other days.
To start off on my card I went with the Fancy Card Dies die cutting them out of white card stock and one 4.25 x 5.50 inch panel. Next with the Snowflake Background Stencil and all the die cuts on a grip mat. I ink blended on SSS Pawsitively- Tidepool ink on all of the die cuts with the exception of the Standard A2 panel. Then with the fold pieces I die cut off the top of them using the Snowy Hills Border Dies. So that when I fold it up it has the look of snowy hills.

I also die cut out a bunch of the Snowy Hills Border Dies from white to add to the bottom of each of the layers. When I added the liquid glue to the back of the die cuts I tried to keep the glue to the bottom rather then the top edges so I could slide tree trunks under the snow if I wanted to.
Speaking of trees, I used the new Winter Trees Dies and die cut out a bunch of the two smaller trees from white and ink blended on SSS Pawsitively-Fairway ink. I will come back later and do more to cut off and add to the back side, but not yet because I will sandwich in between an acetate pick holding Snowflakes.
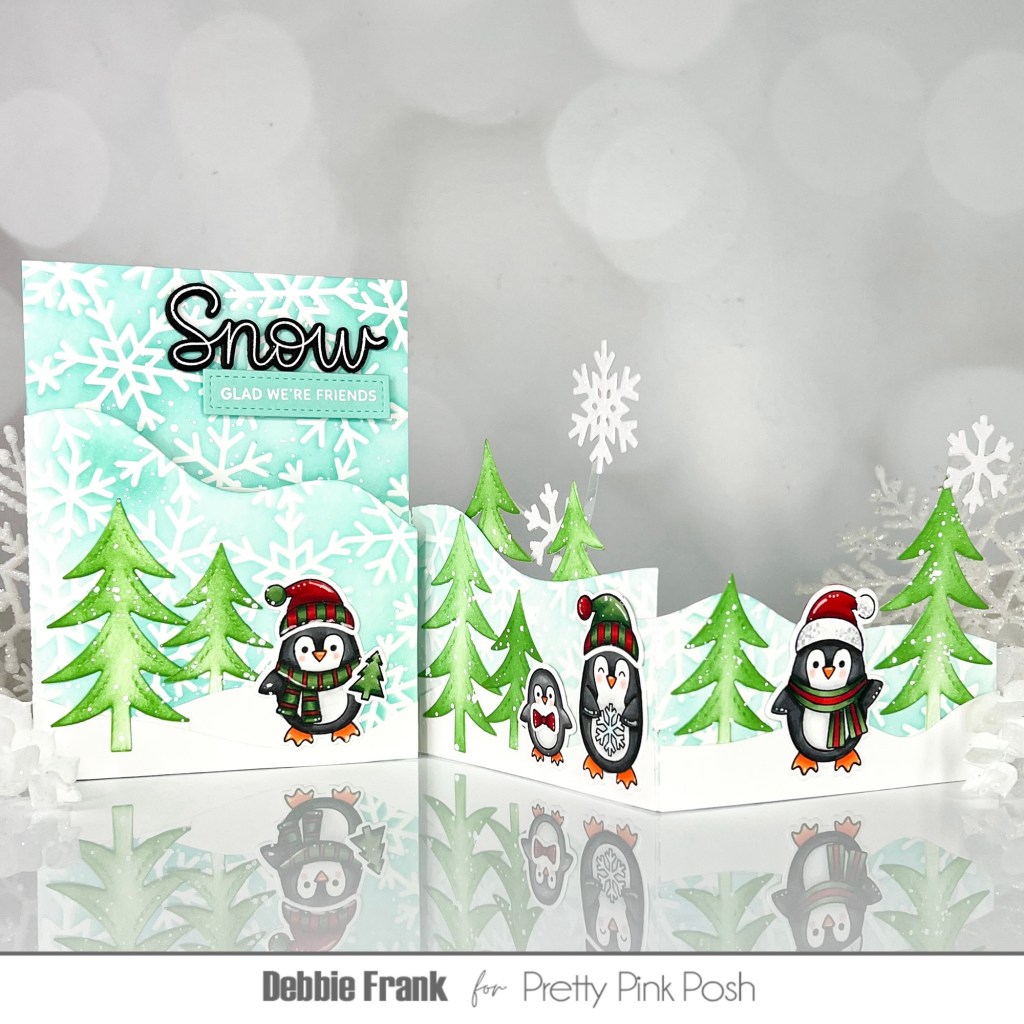
And speaking of snowflakes 🙂 I wanted the to be some glitter snowflakes floating with in the card. I love this look of any thing that flys or floats to be on an acetate pick. I used the Christmas Holder Additions Dies, there are two different shaped snowflakes in there. I die cut them out of Pixie Dust Glitter card stock from Lawn Fawn. You will need 6 of them, one for the front and then the back with the acetate pick sandwiched in between. When I adhered them using liquid glue to the trees to hold them up, that is when I added the back of the tree top.
Next with the Penguin Friends Stamp set, I stamped and copic colored all the penguins and accessories.
COPIC coloring guide:
N0, N1, N4, N6, N8
R20
YR04, YR07
G21, G24, G28
R24 R27, R29, R39
BG000,BG0000

Once the coloring was done I used the Coordinating dies to cut them out.
Next for the center of the card, I used the Igloo Shaker Die. Because they need a home for then penguin scene! I die cut the Igloo from white, and on the whole Igloo I did a little soft gray inking on the outer edge for depth and heavier where the door opening is.
I tried to use the Christmas lights from the Christmas Holder Additions Dies but the shape just wasn’t working so I just did the wreath and bow from the set to place over the door opening. In the center of the bow I added a small Cherry Red Pearl and red stickles dots on the wreath to look like berries.
Then for the sentiment I wanted to use the new Let it Snow Shadow Dies but it was a little too big for when you fold it close. So I went with the Let it Snow Stamp set. I stamp and white heat embossed onto black card stock for the “Snow” afterwards to cut out with the Coordinating dies. And I die cut it out an additional three times from the black card stock to stack it up. Then for the “Glad We’re Friends” I also stamped and white embossed it on to Spellbinders – Waterfall card stock. Then with the Sentiment Strips Die set I used the stitched to cut it out and popping it up with foam squares. When I was attaching the sentiments I closed the Fancy fold card so I had the placement correct with the floating snow flakes.

I love this card, it looks like it would be hard to make but it was actually really easy to make. You just need to have enough penguins and trees made up.
Affiliate links are attached with no extra cost to you.
Thanks for stopping by and have a wonderful crafty day! See you over at Instagram! Good luck!


Leave a comment