
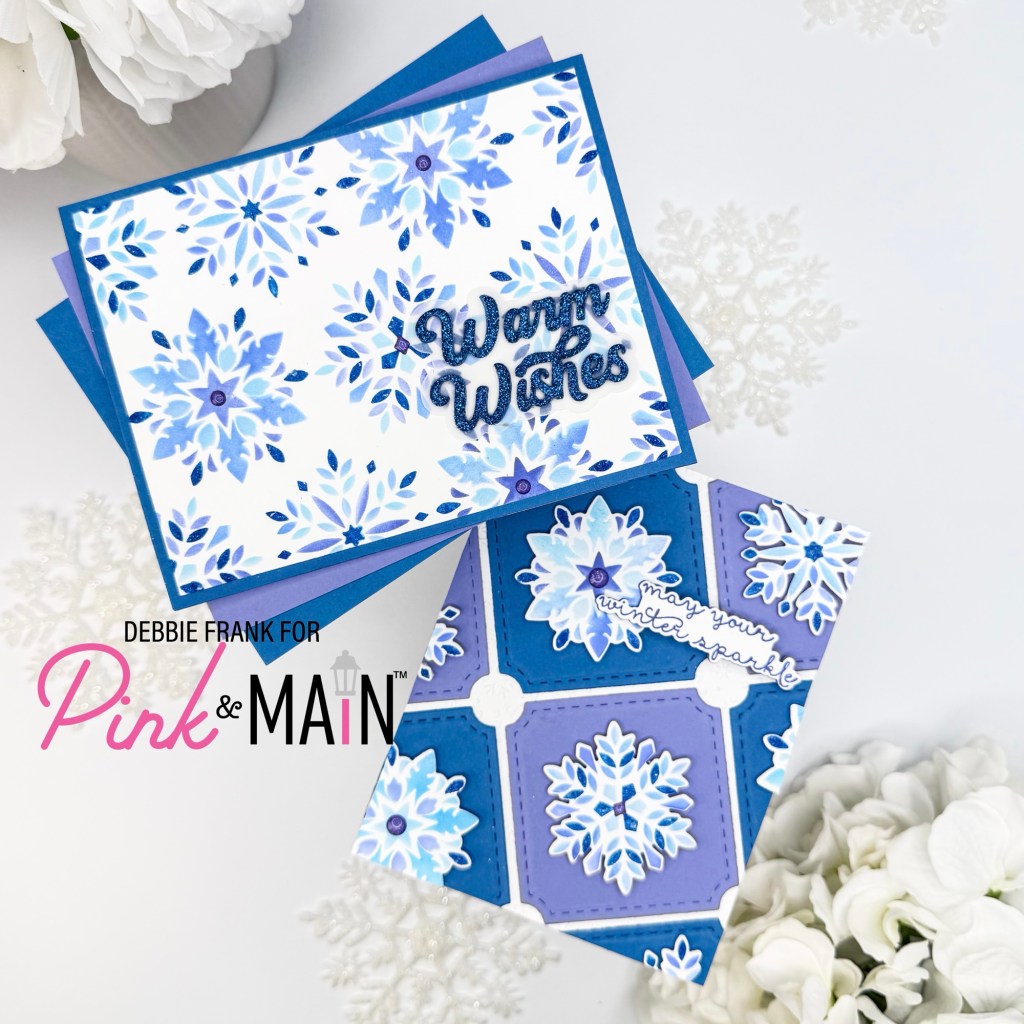
Hi friends, I’m super excited to share with you the new Layering Dies and Snowflake Stencil from Pink and Main’s October Release! I absolutely love how these turned out.
I started off with the stencil, basically to see how it would look using the colors in the Winter Garden Pattern Paper. But with the last layer of the stencil I wanted to have some glitter. I have never made my own glitter paste! I went to my stash and I have the Glossy Gel by Pink and Main. I added a couple of scoops into two glass containers. Then I grapped the re-inkers of the Pawsitively inks that I was using. Added a couple of drops and my final add was some Chunky and Fine Glitter of Rock Candy by Tim Holtz.
I added it randomly to the stencil and with a large spatula went over the stencil. I wanted to have random colors everywhere.
I set it to the side to dry and did my clean up.
Product List with Affiliate Links:
Layering Snowflakes Dies & Stencil. (PnM) (SSS)
Notched Square Dies (PNM) (SSS)
Winter Garden Glitter Enamel Shapes (PNM)
Worth Melting For Stamp (PNM) (SSS)
Worth Melting For Dies (PNM) (SSS)
Winter Flurries Embossing Folder (PNM) (SSS)
Merry Sentiments Word Dies (PNM) (SSS)
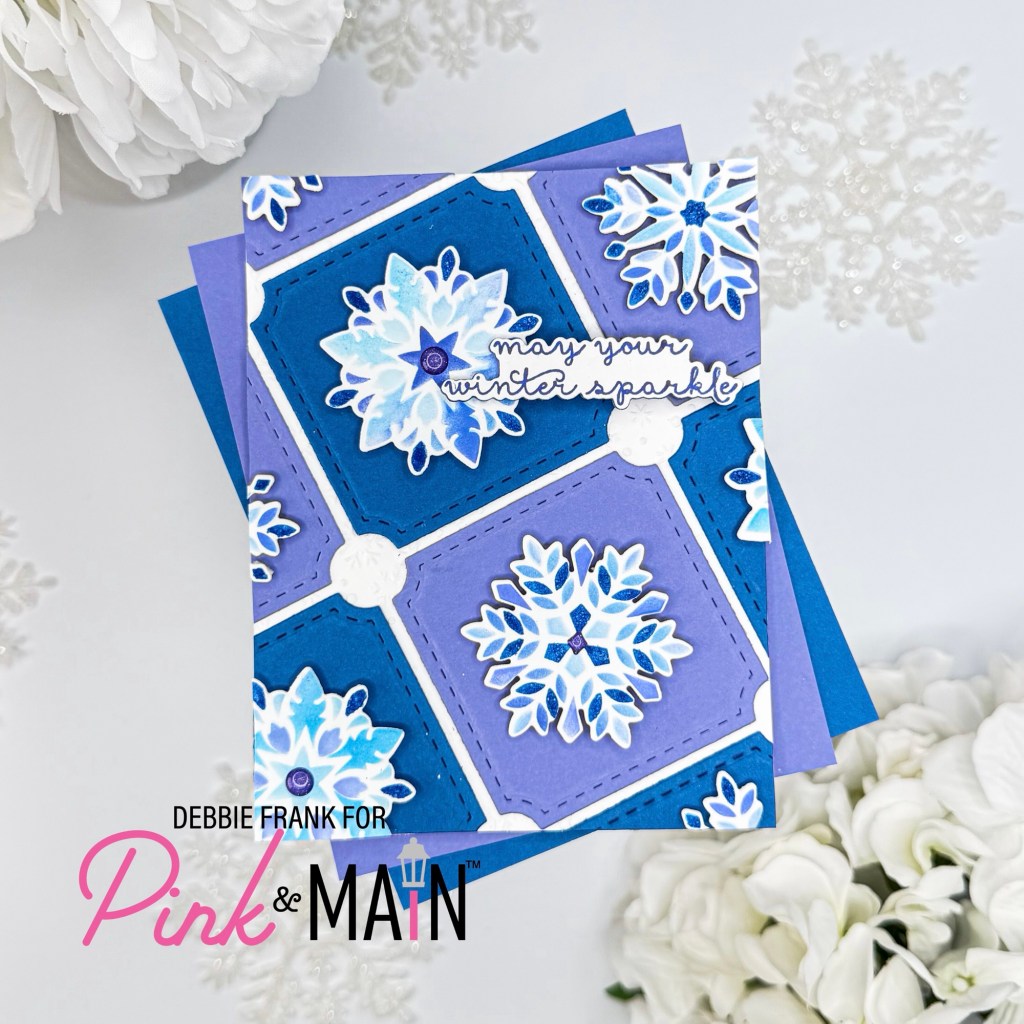
While the stencil panel was drying, I die-cut out the Notched Square Dies in two matching card stock colors.
Now that the stenciled panel was dry, I die-cut out a standard A2 panel from the side that looked the best. So now I have one card that I matted.
Next with the last month’s release Merry Sentiments Word Dies, I die-cut out of a royal blue glitter card stock.
My final step was to add a few of the Winter Garden Glitter Enamel Shapes to the center of the snowflakes.
For my second card with the remaining panel. I used the dies to die-cut out the best-looking snowflakes.
Next, with a white card stock panel I embossed it with the Winter Flurries Embossing Folder. Then I started to attach the Notched Square pieces at an angle. I used my T-square ruler a lot making sure it was all straight.
I then added the full and best-looking snowflakes on top of the center-notched squares. The remaining pieces were for the other squares, I did a lot of using the remaining snowflake pieces for other squares.
Using the Worth Melting For Stamp, I stamped out the sentiment with the purple dye ink I used for the stencil. Using the Coordinating Die to cut it out and pop it up on the panel.
I also used the Winter Garden Glitter Enamel Shapes for some of the centers of the snowflakes.
Some of the companies have it set up if you wait after 7 days to finish your order from when you clicked on one of my links. I will no longer make any commission from the sales.
Compensated affiliate links used when available. If you place an order after clicking on one of my links, I will receive a small commission at no cost to you. Make sure to accept cookies. Thank you for your support!
Thanks for stopping by and have a crafty day!




Leave a Reply