
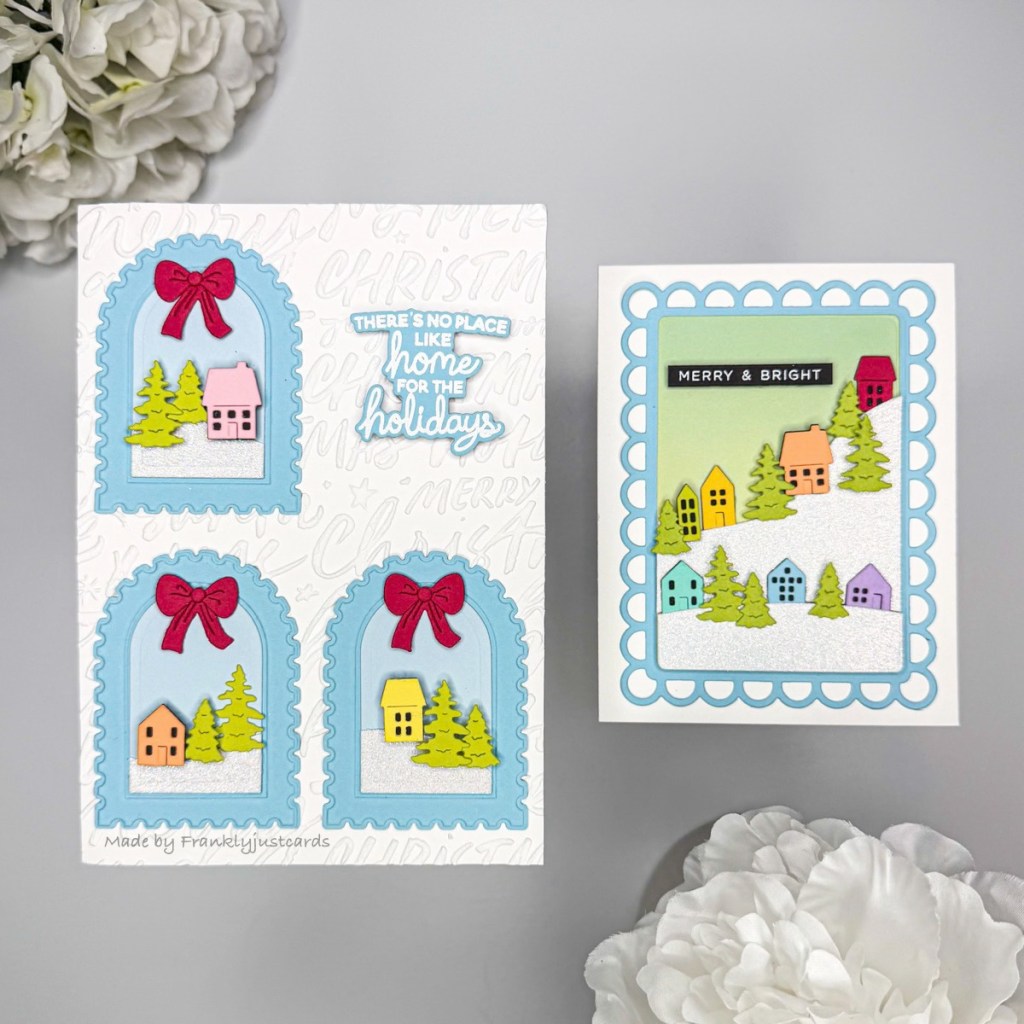
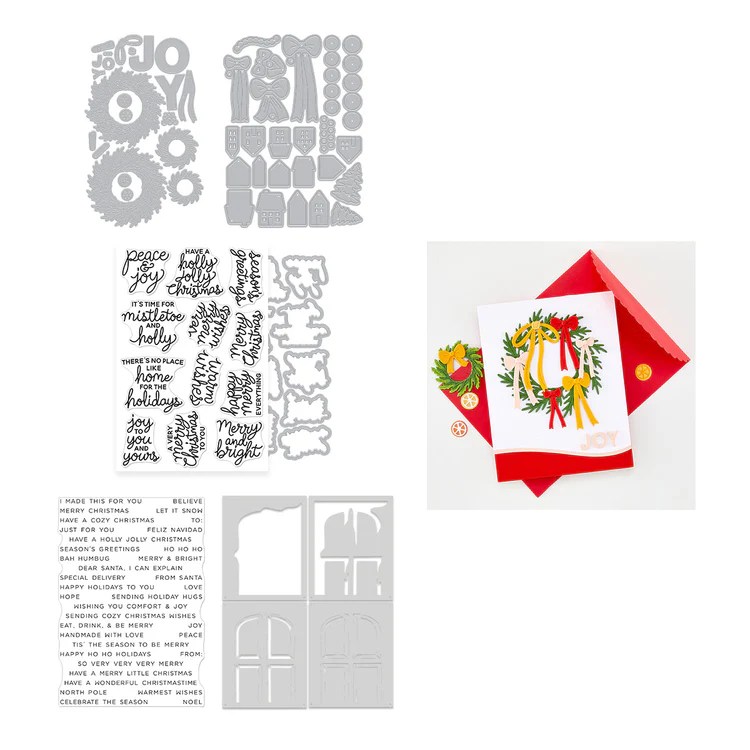
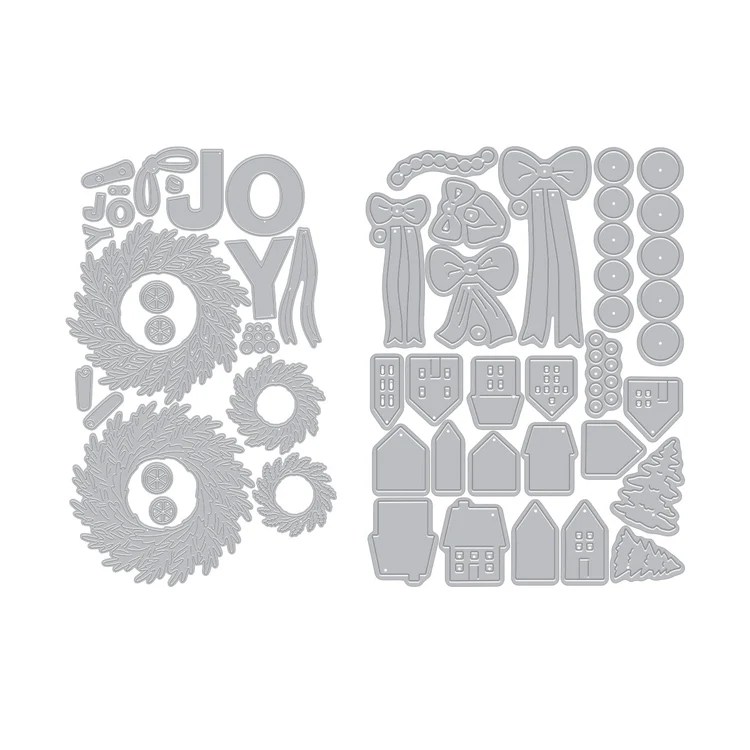
Hi crafty friends, today I’m sharing the Winter Wreath Accessories Dies from the Home for the Holidays collection over at Hero Arts.
I only received the Winter Wreath Accessories Dies and not the Winter Wreath or the Front Door Layering Stencil. Not that I would really even use it with the Tiny Homes!😂
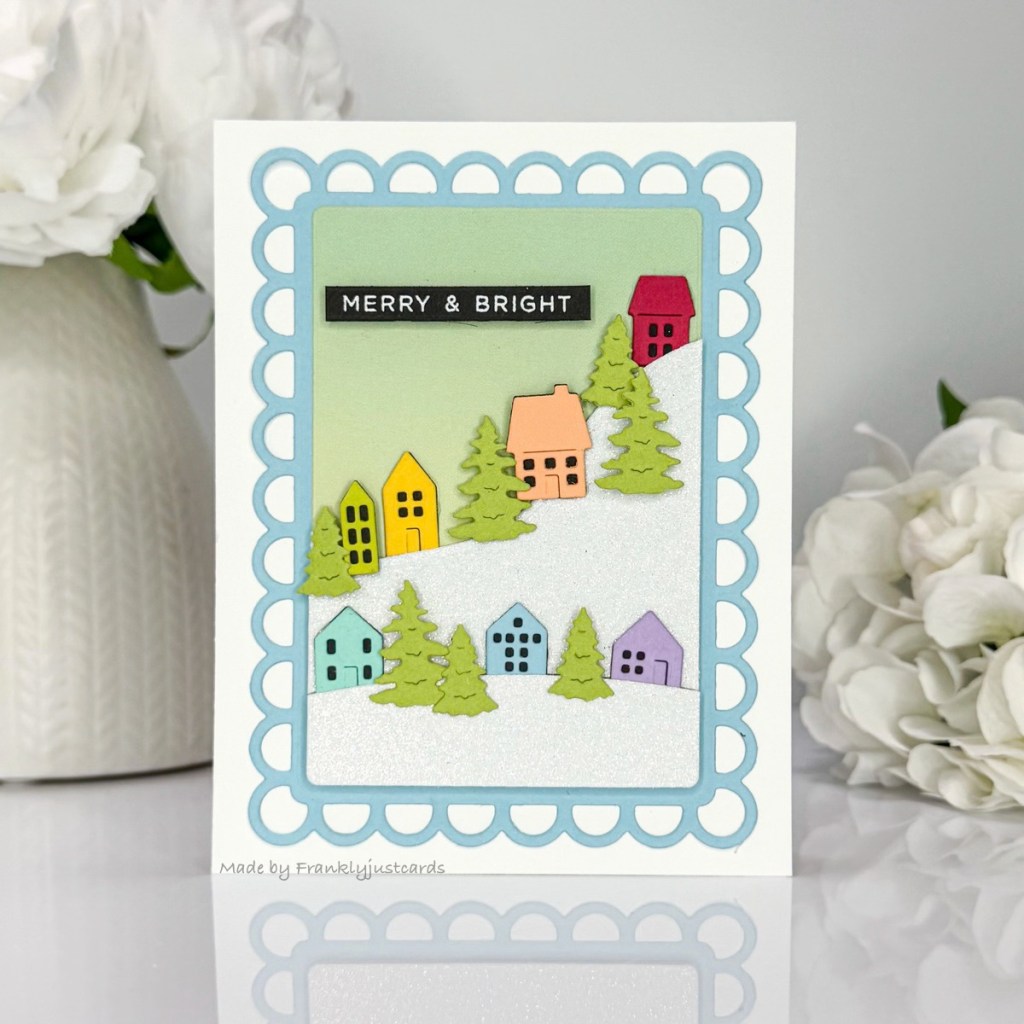
I started off making rows of tiny homes by die-cutting them out in rainbow colors and backing with Raven Card Stock. Also die cut out both sizes of the trees in a shade darker of the green card stock than the one lime green house.
Then using the Open Lace Frame dies from Spellbinders that comes with a snowy hill bank die. I die-cut out two hills from Pixie Dust Glitter card stock from Lawn Fawn.
Want It all Bundle Price- Click Here!
I die cut out the Lace Frame Die from Waterfall card stock. Then in my stash was the Gradient card stock from MFT that I used as my background panel. I assembled my card using liquid glue and foam squares to the backs of the tiny homes and trees.
Using the Seasons Greeting Stamp I stamped and white heat embossed it on Raven card stock.
The previously released Sentiment Strips die that cuts them all out at once. Popping the sentiment up with foam strips and attaching it the card panel.
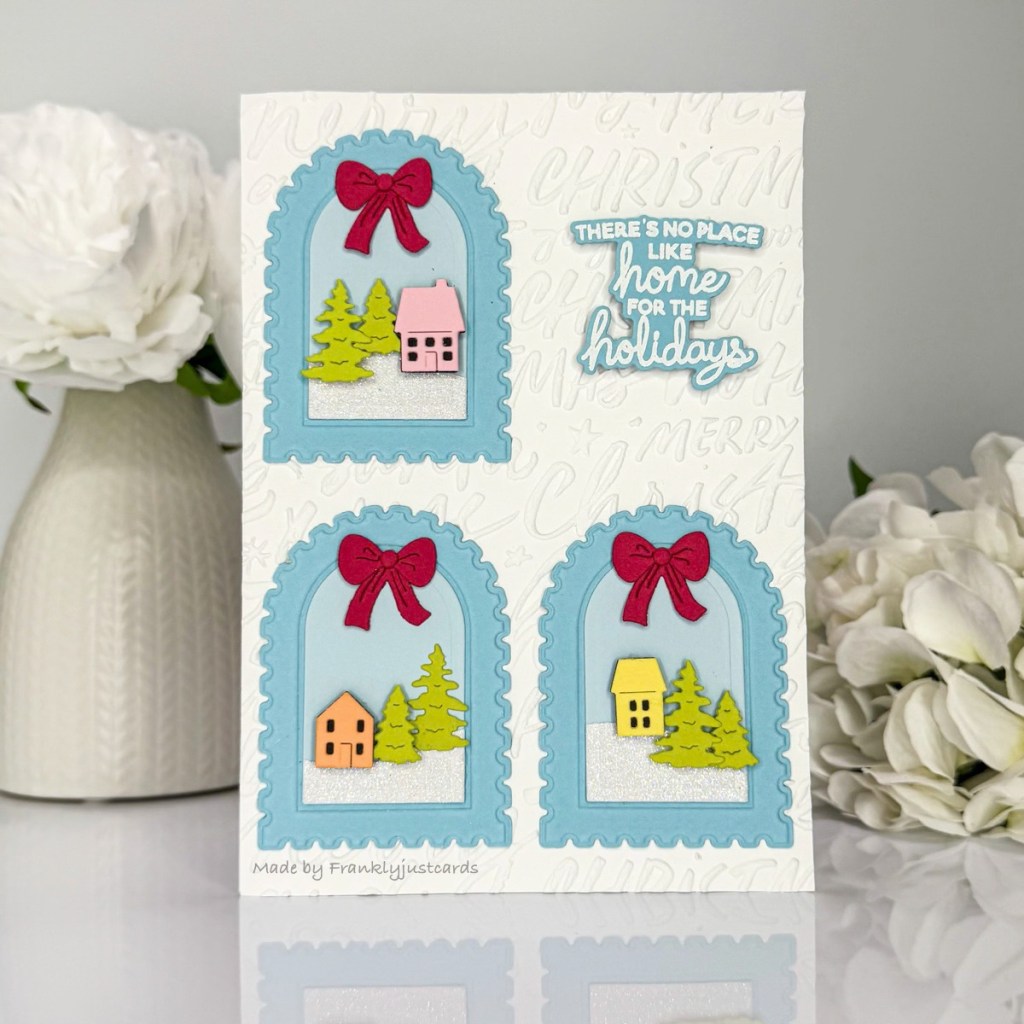
For this card I went with a quad design using the Postage Stamps Embossed & Cut Folder and it’s a 5×7 card base. For the back ground I used the 3D Embossing folder-Festive Greetings of this month from Spellbinders.
Die-cutting out the three blue Postage Stamps and then ran them with the Embossing Folder. Next I cut out the inside panel and adhered to the Postage stamp frame.
Winter Bundle Price- Click Here!
Using the Open Lace Frame dies I die cut out one of the snowy hills from Pixie Dust Glitter Dust Glitter Card stock. Then with the panel from the Open Lace die, I cut the snowy hills to fit perfectly.
Next, I started to assemble each postage stamp scene by attach one house a a couple of trees. I did pop them up with foam squares.
Using the middle size bow from the Winter Wreath Accessories Die set, I attached on the top of the arch. It gives the picture frame look to each one of them and a pop of red!
Then using the Very Merry Wishes Stamp & Cut, I stamped and white heat embossed the sentiment. Popping it up with foam squares into the fourth quad.
Some of the companies have it set up if you wait after 7 days to finish your order from when you clicked on one of my links. I will no longer make any commission from the sales.
Compensated affiliate links used when available. If you place an order after clicking on one of my links, I will receive a small commission at no cost to you. Make sure to accept cookies. Thank you for your support!
Thanks for stopping by and have a great week!




Leave a Reply