Hi Crafty friends, I’m so excited to share with you that it’s release day over at Pretty Pink Posh! This release was so fun with all the adorable bugs, bug stamps, shakers and basics!
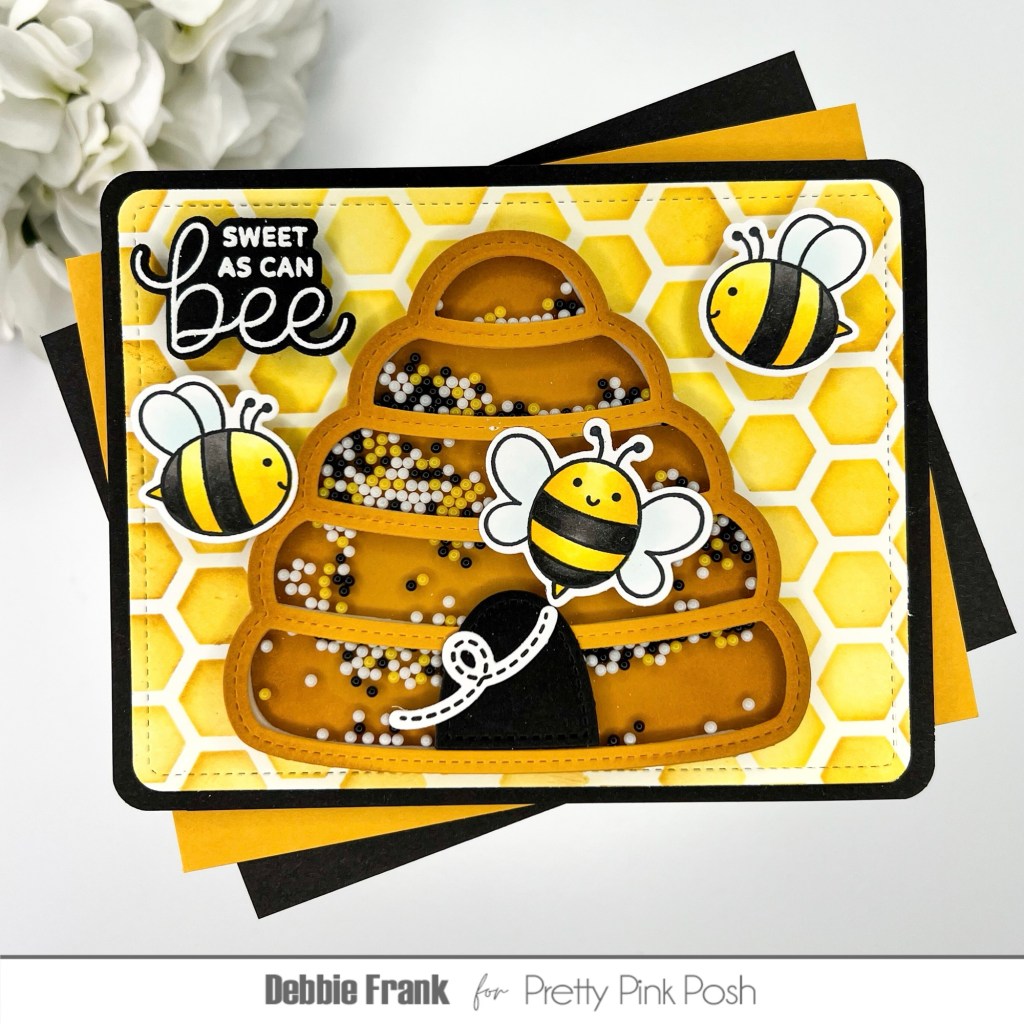
I started off with the Honeycomb Stencil and a standard A2 panel of Neenah white card stock on a grip mat. Then with SSS Honey Pawsitively ink I blended on kind of splotchy. I wanted some of the areas to be lighter and others heavier with the ink.
Then with the panel I die-cut it out with the largest new Rounded Stitched Rectangle dies. I than matted it with black card stock and rounded the corners with a corner punch from my stash.
Product list with affiliate links attached:
Beehive Shaker Die (PPP) (SSS)
Rounded Stitched Rectangle Dies (PPP) (SSS)
Bee Additions Stamp (PPP) (SSS)
Bee Addition Coordinating Dies (PPP) (SSS)
Bee Happy Shaker Beads (PPP) (SSS)
Next, with the new Beehive Shaker die I die-cut it out 6 times from white card stock with both of the dies to create the wells for the Bee Happy Shaker Beads. With a mustard card stock and both of the dies I die-cut out the top element of the Bee Hive. Then with just the outer die I die-cut out the acetate and the back panel to seal in the shaker beads. Before I started to build the beehive I ink blended on a Gina K Mustard ink for shading to the shaker. I than adhered the white cardstock frames together with liquid glue. And the acetate to the back of the Mustard frame of the honeycomb. Filled it with the Bee Happy Shaker beads and attached the full mustard honeycomb panel to the back to seal the shaker.
I then decided to add some of the adorable chunky bees from the new Bee Additions Stamp set. I stamped out three of them with a couple of the trails. Copic colored them in and then with the Coordinating Dies die-cut them out.
Also from the set is the “Sweet as can Bee” sentiment that I stamped and white heat embossed on the black cardstock and cut out with the Coordinating Dies.
I’m now ready to attach it all together and add to a card base. So with a standard A2 card base, vertical side fold I used the corner punch again and rounded the corners of the card base. Then attached everything with liquid glue.
Because the beehive is so thick I added foam to the two bees off of the hive, the other was adhered directly to the hive with liquid glue.
Compensated affiliate links used when available. If you place an order after clicking on one of my links, I will receive a small commission at no cost to you. Make sure to accept cookies. Thank you for your support!
Thanks for buzzing by and have to crafty day!


Leave a comment